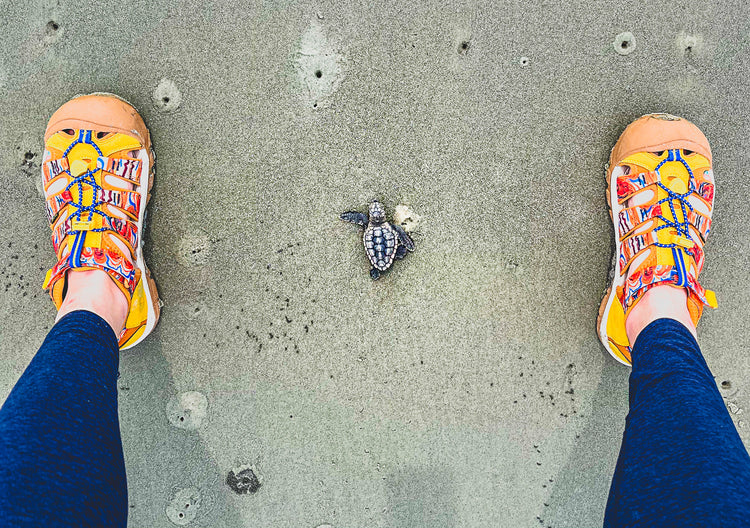
Spending time on the trails is one of the best ways to connect with nature, friends, and ourselves. It’s also an amazing way to challenge yourself with new goals that are healthy for your mind and body, like improving your fitness so you can hike to your favorite viewpoint in less time or hiking a distance you’ve never attempted before. This kind of hiking is called “fast hiking” and it’s becoming a favorite way for people who love hiking to experience more than ever before.
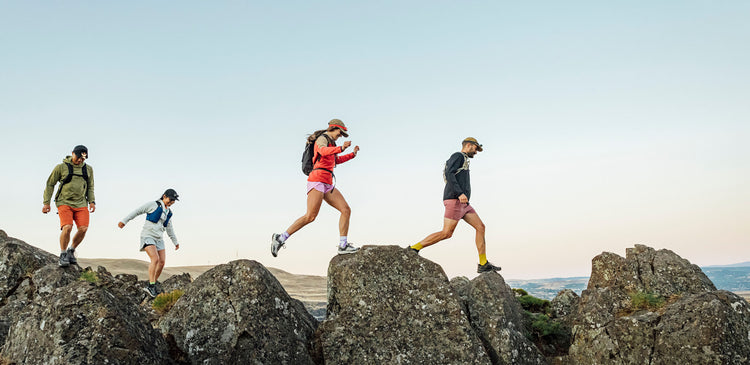
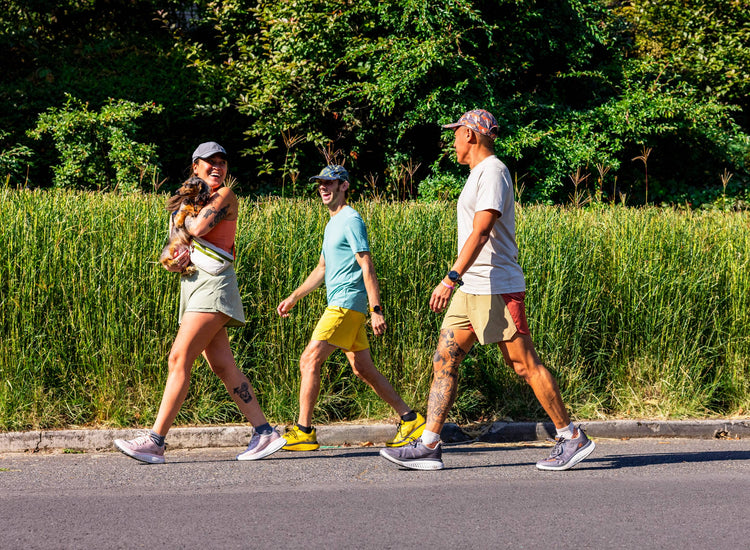
Fast hiking exists in the sweet spot that’s quicker than traditional hiking, but slower than running. It includes some of the benefits of higher-intensity cardio exercise without the high-impact of running. It’s a way of covering more terrain in the same amount of time. That means extra miles before work, or taking in more views with friends on a Saturday. But, how do you get started fast hiking? What gear do you need before you head out the door?
Below, we’ve listed some pro tips and tricks on transitioning from traditional hiking to this “light and fast” sport.
Gear Up
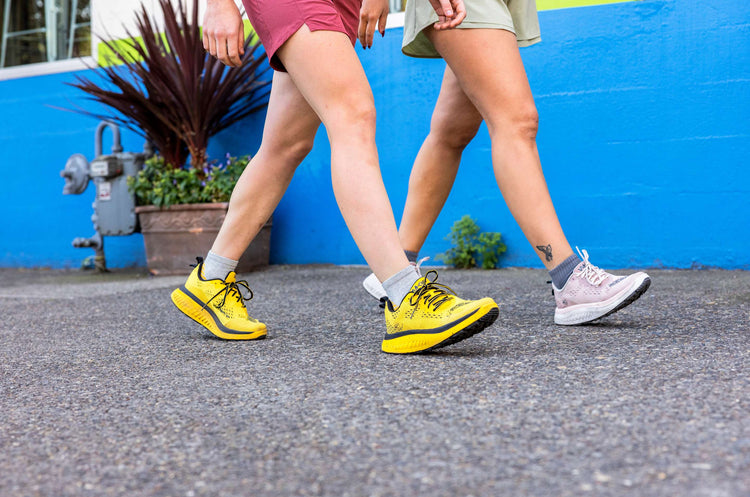
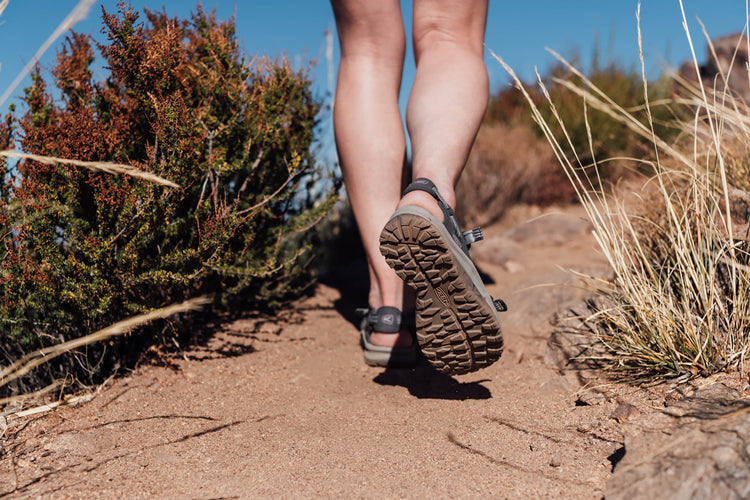
Fast hike footwear differs from traditional hiking footwear in a number of ways. If you’re planning on going faster than an easy, steady pace, it can be more comfortable to have a lower profile shoe with more flexibility than your typical, stiff hiking boot. While it might be tempting to wear your running shoes (we actually answered your questions about that here), typically those designs don’t have the protection and durability you need to cover all kinds of terrain. NXIS and Terradora hiking shoes are great choices for those wanting to go “fast and light.” It’s important to move with confidence across rocky terrain, slippery trails, and sections of steep side-hilling and nothing will slow you down like flimsy, unsupportive footwear!
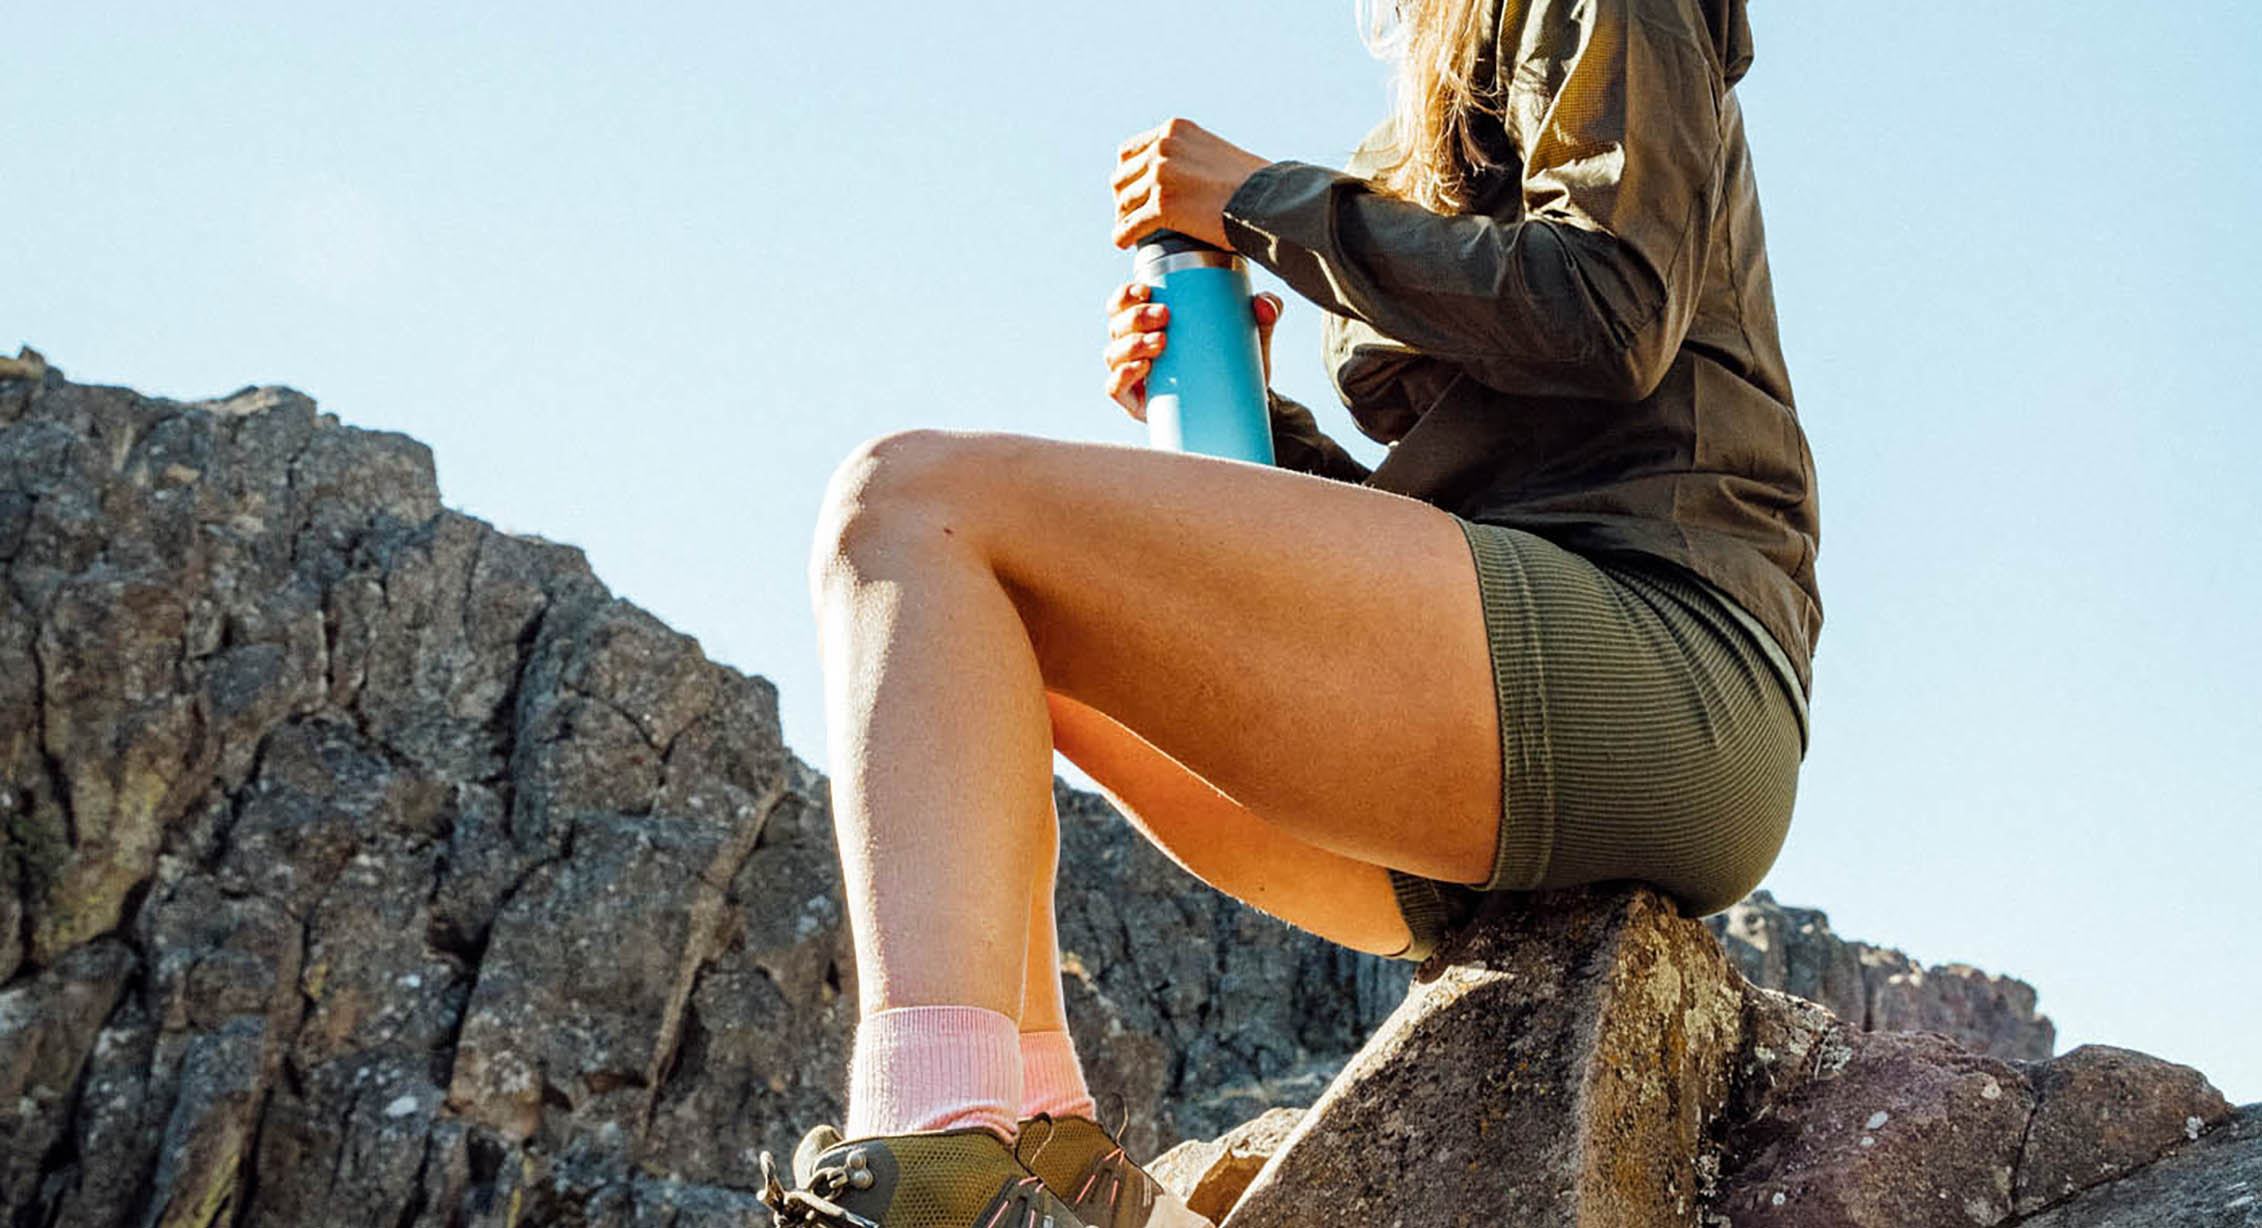
What to wear is another good thing to consider when you’re heading out to go faster or further than you ever have. Depending on the weather, fast hikers can usually get away with tops (either long- or short-sleeved), tights or running shorts with soft, sweat-wicking fabric that won’t cause chafing in motion. In the long run though, as long as you’re wearing what you’re the most comfortable in, that’s all that matters.
Train for the Trails
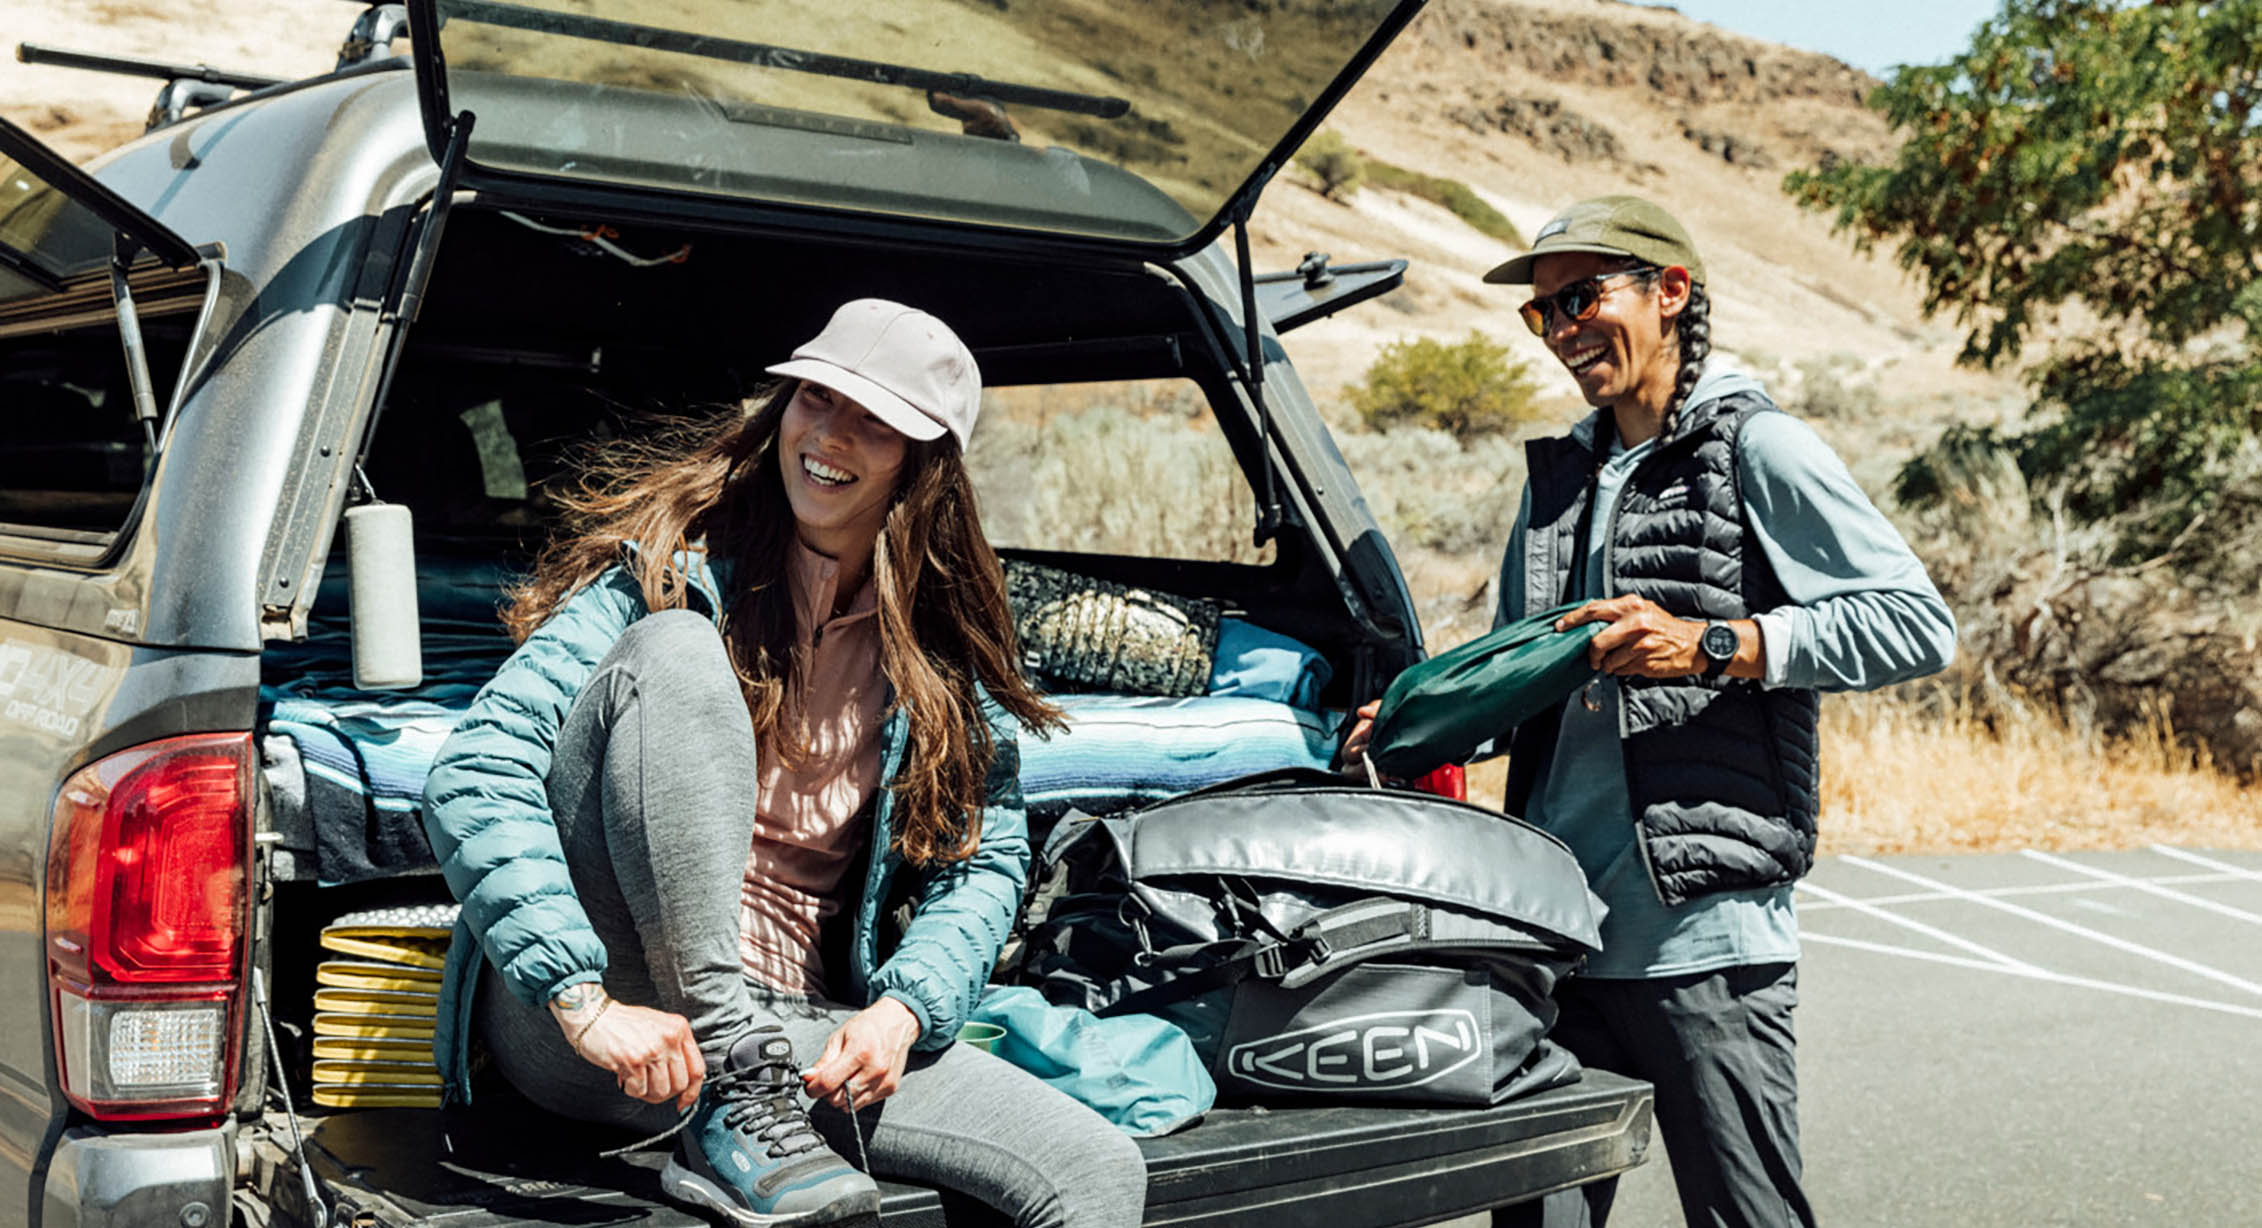
Training on the trails is one of our favorite ways to boost your fitness. It’s called “time on feet” and it’s a really important aspect of teaching your body to adapt to doing any activity. These training hikes are even more fun if you have a buddy who is up for pre- or post-work trail miles. Some things to focus on during these sessions are:
Take smaller steps. It’s a lot easier to be efficient on varied terrain (especially going uphill!) if you’re moving at the same tempo throughout the hike. For a lot of people, that means taking smaller steps on more challenging/steep sections. Less fatigue = more miles = more smiles.
Add weight. Adding some weight to your daypack during day hikes or during a planned training hike is a great way to condition the larger muscles of your legs and core. Building up these areas will make your lighter, faster hikes feel easier, and can also help reduce the likelihood of injury by getting your body used to the impact of hiking — especially on those pesky downhill sections! It’s important to add weight slowly, starting with about 10% of your body weight (or less), and gradually increasing the amount as your body adapts.
Pick a hill. Oh, the hill repeats! Every area has “that” hill — the one full of panting, ambitious individuals who love maxing out their heartrate. in Portland, we have a forest full of steep “Firelanes” that are the perfect torture chamber for hikers and runners alike). Doing up and down hills is a great way to help your bones, muscles, and connective tissues adapt to the stress of hiking.
Hiking fartleks. Fartlek translates to "speed play," and it's a way to integrate faster intervals. Pick a rock or a tree or set a goal for a number of steps, and let loose! Up your pace until you reach the marker you’ve set, then slow back down and let your heart return to its previous, lower rate. Intervals not only help increase your overall hiking fitness and efficiency, but they also help keep you mentally engaged. We like to do hiking fartleks during sections of the trail that are less scenic, or where the terrain isn’t as challenging. Do as many as you want and feel the benefits on future hikes.
You can also train a bit at the trailhead, depending on your comfort level. Whether your goal is to set a new PB (personal best) time for your favorite hike or to go as far as possible in two (+) hours, two of the foundations for efficiency are strength and stability. Some of the best ways to strengthen your body are with functional exercises like lunges, step-ups, and vertical jumps, all of which can be done in a parking lot as a pre- or post-hike routine. It’s best to start off doing these exercises with bodyweight only and you can gradually add weight as your build strength. You can do this by using anything you have with you: the easiest way to do this at a trailhead is to simply fill empty bottles with water (1 liter of water is approximately 2.2lbs).
RELATED: Sneak in a Midweek Hike
Fuel Your Body
Snacks and water are two of the most important tools in your hiking kit. Without adequate hydration to replenish the electrolytes and water lost to sweat, and without the calories needed to keep your body going long distances, you’ll experience the dreaded, “bonking” feared by all varieties of endurance athletes. Depending on your physiology and the duration of your hike, you need different kinds of food to fuel your body. It’s always nice to have a mix of sweet, sour, and savory snacks just to keep things interesting. And saving an extra yummy reward (any pizza or burrito fans out there?) for the “turnaround point” or a certain overlook during your outing can make those achievements even more satisfying.
Before a hike it’s a smart idea to kick start your body’s furnace with a nutritionally dense (but not heavy) combination of healthy carbohydrates and protein. We’re a big fan of oatmeal and nut butter or eggs and sweet potatoes. Drinking water before or after your meal is a great way to ‘pre-hydrate’ and having a cup of coffee or caffeinated tea can give you a good boost of energy (and motivation, if you’re hiking early!) before you leave the trailhead.
During a hike, it's important to pack enough water and snacks to get you from A to B and back again. There are a few options for carrying water while fast hiking. Since the point of fast hiking is to go fast, taking time to stop to drink out of a bottle in your pack will slow your pace down significantly—and it can also reduce your ability to stay consistently hydrated.
Two of our favorite ways to carry water while fast hiking are to either carry soft flasks in chest holders (like those found on running vests), or to use a bladder with an easy-to-drink-from hose. Taking small sips of water throughout the day can do wonders for helping keep you hydrated while also helping you digest the calories you intake.
Food can be a little trickier to plan for. Quick and easy to digest calories should make up the bulk of the snacks you pack. What you bring boils down to your taste preferences, physiology, and the length of your hike. On shorter hikes, you may only need to bring a bar or two to keep your body happy; on longer hikes, you might be packing some denser options. Some of our tasty faves for going lighter and faster are energy blocks (easier on your gut than most energy gels), baby food squeeze tubes (make your own purees and use reusable packaging!), tuna and/or salty olive packets, an assortment of bars (ones that are softer are easier to chew on the go), and nut butter + jelly wraps.
After your hike, try to eat a meal that balances adequate protein with quality carbohydrates as soon as possible. It will help speed up your recovery so you can make the most out of all the miles you just hiked! Even simply drinking a protein shake can do wonders for your body. Protein smoothie bowls, nuts and greek yogurt, or a hearty sandwich with fresh veggies are great options.
Avoid Injury
We’ve all been there (and if you haven’t, here are some tips for avoiding “there”). That one funny misstep that tweaks your knee; the slip and fall that sprains your ankle; the bone-deep muscle soreness that comes with over-training. One of the best ways to avoid injury, aside from carefully and gradually conditioning your body, is to keep your muscles and joints happy, moving freely, and relaxed. Incorporating foam rolling and some basic mobility work into your weekly routine can make a massive difference in reducing—and even eliminating—the chances of you getting sidelined due to an injury.
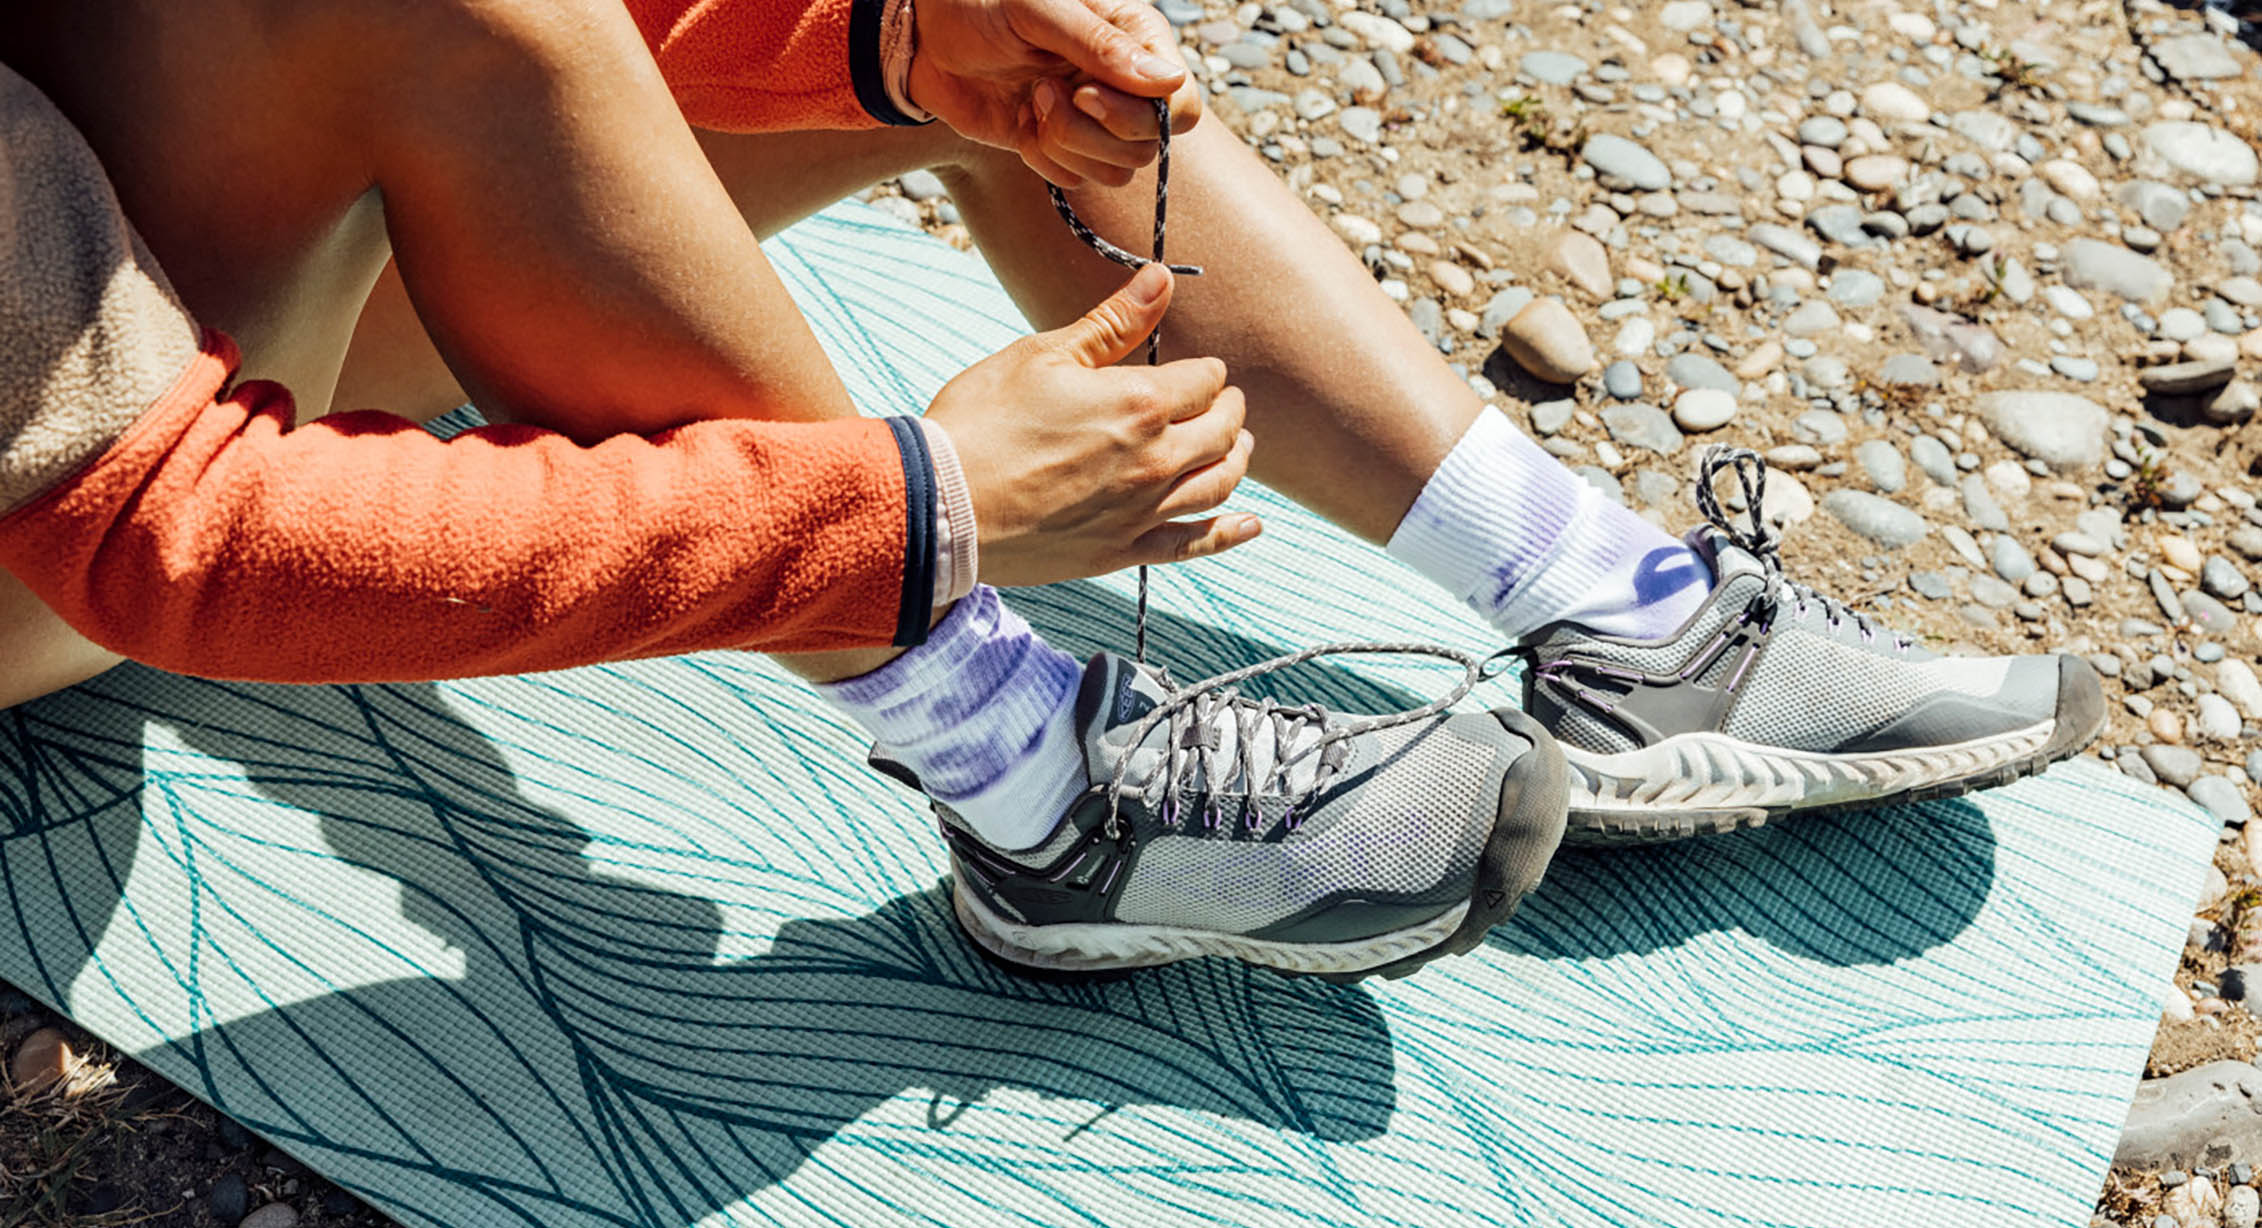
Foam rolling is a form of self-myofascial release. And it hurts so good. This popular technique helps increase flexibility, reduce overall muscle soreness, and minimize any knots in your muscles. It’s also a wonderful way of warming up your body before you exercise. Just bring a mat and your foam roller to the trailhead for a little pre- and post-hike self-care.
Mobility work can be hugely beneficial when it comes to decreasing your likelihood of injury. If your joints and muscles (like your hips, ankles, adductors, and hamstrings) don’t have full range of motion, they’re more likely to get strained/sprained and your stride won’t be as efficient (aka, every mile will require more energy than necessary). Incorporating a mobility protocol into your routine.
Rest. Ah, the big “R” word. Even elite athletes take days off. It’s during these periods of recovery that your body gets stronger, allowing you to make the most of sunny (or rainy, if you live in Portland like we do) trail days with friends.
Any time you try something new, you should be prepared to learn. Pushing the boundaries of what makes us feel comfortable is how we grow as individuals and experience more of the world. It’s easier to step into that “learning zone” when we’re with friends. So, grab a buddy, set a goal, and try fast hiking. That way, you’ll have someone to take selfies with when you see something new :)
