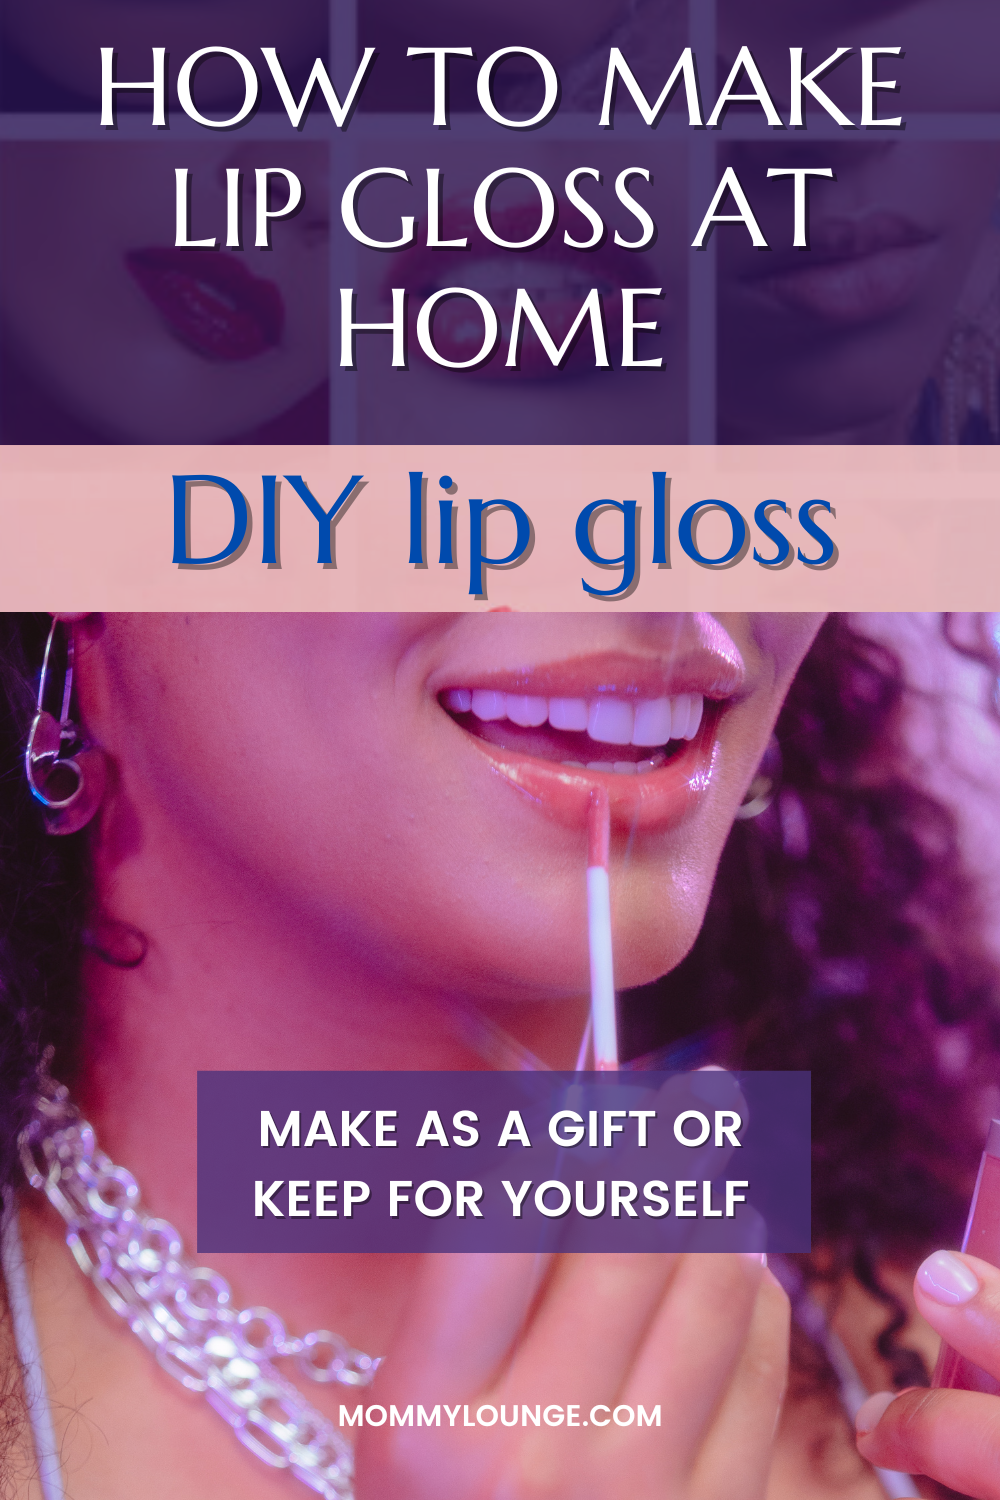
Are you tired of spending heaps of money on lip glosses filled with harmful chemicals that don’t suit your skin or are just not the perfect color for you? Why not create your very own homemade lip gloss that is non-toxic, healthy, and customized just for you! Imagine having control over the ingredients, colors, and scents of the lip glosses you wear. Learn how to make lip gloss at home using natural ingredients, ensuring you have a beautiful, healthy, and non-toxic option for your lips.
Not only will this save you money, but it’s also a fun and creative process that you can enjoy with your friends and family. You’ll be able to gift your unique creations to your loved ones and make them feel special with personalized lip glosses. Learn how to make lip gloss that will leave your lips feeling soft, moisturized, and looking fabulous!
Key Takeaways
- Create your own lip gloss using natural, non-toxic ingredients in just 15 minutes!
- Experiment with carrier oils and add vibrancy & sparkle with natural colorants for a unique product.
- Incorporate safe essential oils to experience delightful scents & flavors – plus, find the perfect containers for gifting and packaging ideas!
Creating Your Own Lip Gloss: Ingredients and Steps
Here’s how to make lip gloss:
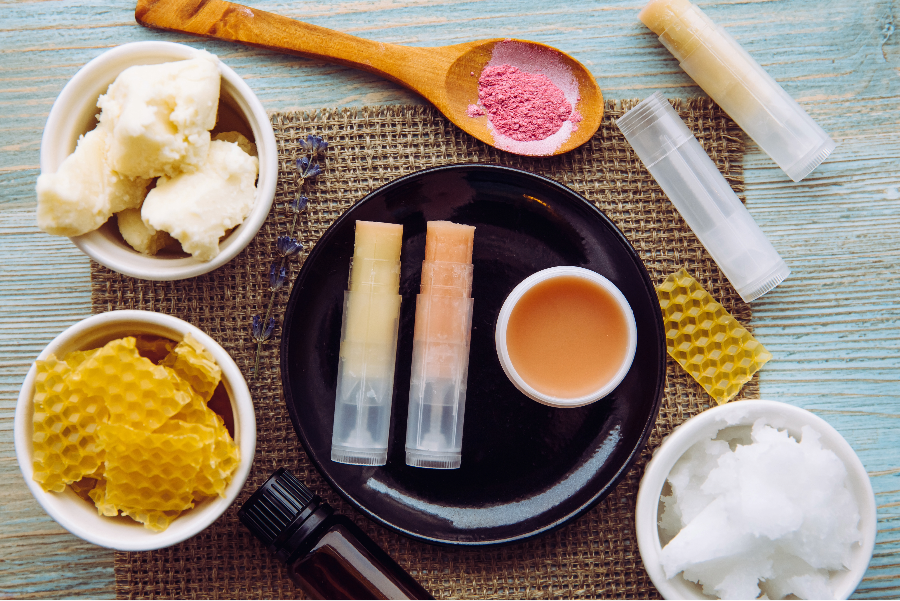
- The basic ingredients needed are a carrier oil and butter, such as castor oil, fractionated coconut oil, and beeswax.
- You can make a natural lip gloss without wax by using coconut oil and vitamin E oil instead.
- The homemade lip gloss recipe we will share with you can be easily tweaked and customized to suit your preferences and needs.
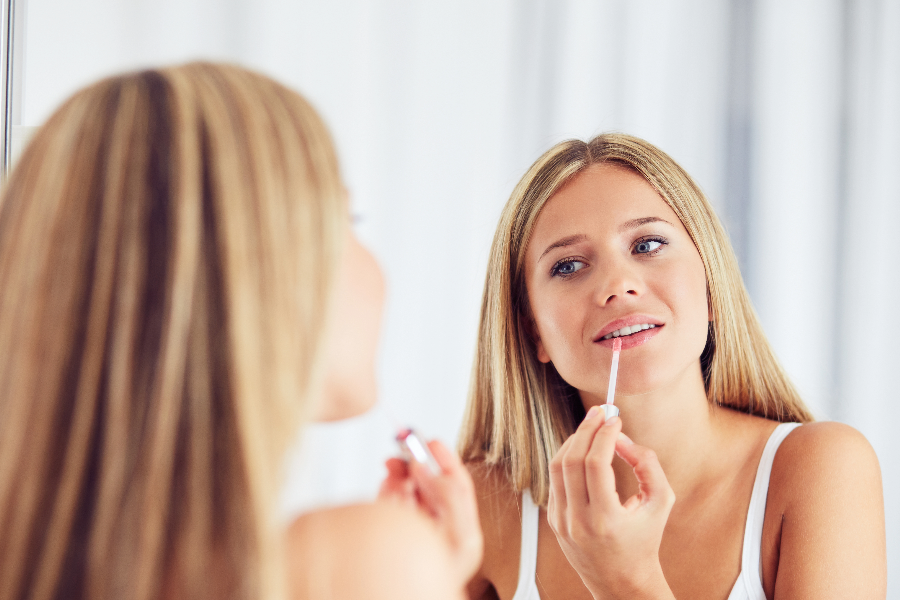
To start, melt your chosen butter (like shea, cocoa, or mango butter) and mix it with your chosen carrier oil (such as castor oil or fractionated coconut oil) in a microwave-safe bowl. Add a few drops of your favorite essential oil for scent and a natural colorant like beetroot powder or hibiscus powder for tint. Once all the ingredients are mixed well, simply pour the mixture into lip gloss containers and let it cool and solidify. Voilà! In just 15 minutes, you’ll have your very own homemade lip gloss recipe that moisturizes and keeps your lips looking and feeling amazing.
Creating your own lip gloss with natural ingredients not only saves money, but also guarantees the use of gentle, natural, non-toxic ingredients. Plus, it’s an easy DIY lip gloss project that you can enjoy with friends and family, creating memorable experiences and unique, personalized lip glosses.
Choosing the Right Carrier Oils
Selecting suitable carrier oils is a key step in the process of creating your DIY lip gloss. Some fantastic choices for carrier oils include:
- Castor oil: gives a naturally glossy look and glides smoothly across the skin
- Coconut oil: provides high shine and skin-softening properties
- Olive oil: moisturizes and nourishes the lips
- Sweet almond oil: helps to soothe and hydrate the lips
Each carrier oil offers its own benefits, so feel free to experiment and find the combination that works best for you.
You can also experiment with other liquid carrier oils like:
- Jojoba oil
- Almond oil
- Grapeseed oil
- Avocado oil
Feel free to mix and match carrier oils to create your perfect lip gloss blend, catering to your preferences and skin type.
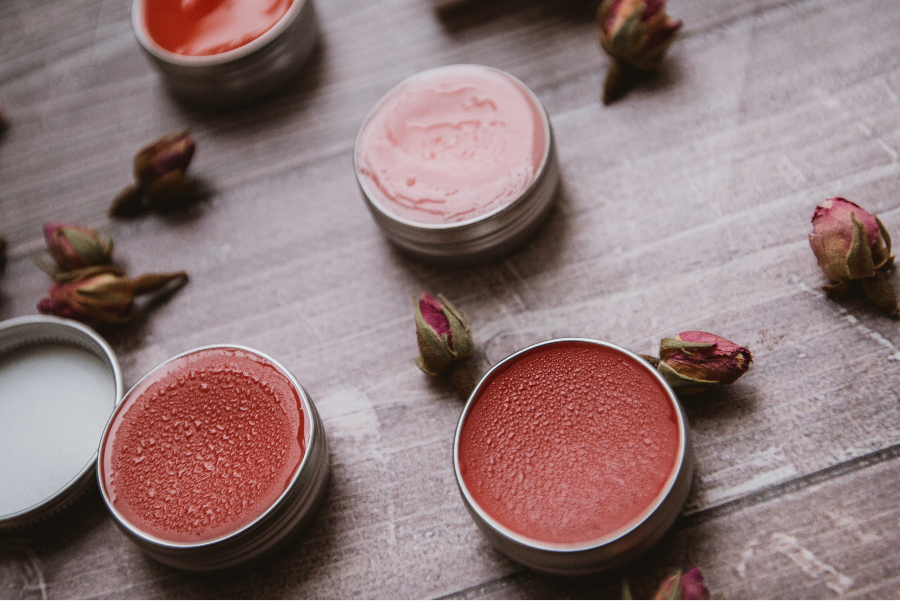
Adding Natural Color and Tints
Natural colorants such as:
- beetroot powder
- hibiscus powder
- cocoa powder
- mica powder
You can give add a vibrant touch. Start with a small amount, about 1/4 of a teaspoon, and add more until you achieve the desired color. You can adjust the color of the mixture by adding cocoa powder. Arrowroot powder can be used to make the color darker.
If you want a shimmery, sparkly lip gloss, simply add a teaspoon of edible glitter in the color of your choice. The finished lip gloss will have a lovely texture and shimmer, making your lips stand out and shine!
Incorporating Essential Oils
Infusing with essential oils can enhance the overall experience with delightful scents and flavors. However, it’s important to choose lip-safe essential oils like:
- lavender
- orange
- lemon
- grapefruit
- vanilla
Make sure to mix the essential oil with a carrier oil first and limit the number of drops to ensure your lip gloss is safe for use.
Remember that when making lip gloss, essential oils should only make up 1% of your formula to avoid any skin irritation. Be cautious with hot essential oils such as:
- Oregano
- Clove
- Cinnamon
- Thyme
- Ginger
These oils can cause discomfort when applied to sensitive skin.
Customizing Your Lip Gloss
Personalizing your lip gloss offers the opportunity to create a unique product that matches your preferred color, scent, and consistency. You can adjust the colors by adding different natural pigments, like beetroot or hibiscus powder, to achieve the perfect shade for your skin tone or even opt for a clear lip gloss.
Essential oils can also be used to add a subtle scent and flavor to your lip gloss, making it even more enjoyable to wear. Choose from a variety of essential oils, such as lavender, orange, or vanilla, to create a lip gloss that reflects your personality and tastes.
Creating your own diy lip gloss also lets you adjust the consistency according to your preferences. If you prefer a thicker gloss, simply add more beeswax to your recipe. For a thinner consistency, use less beeswax or add more carrier oil. Experiment with different ingredients and amounts to find the perfect consistency for your homemade natural lip gloss.
Adjusting the Consistency
Altering your recipe slightly can help in achieving the ideal consistency for your lip gloss. If you prefer a runnier gloss, consider adding TKB Oil Fusion or base oil to your mixture. On the other hand, if you want a thicker gloss, simply add more beeswax to your recipe.
Another way to adjust the viscosity of your lip gloss is by tweaking the amount of beeswax in your formula. This allows you to create a lip gloss with a lightweight consistency that is still comfortable to wear. Play around with different amounts of beeswax and carrier oils until you find the consistency that feels just right for you.
Creating Flavored Lip Gloss
To make a flavored lip gloss, you can incorporate edible ingredients like Kool-Aid or food-grade essential oils into your recipe. The amount of edible ingredient used will depend on the desired flavor intensity, but generally, 1/4 teaspoon of Kool-Aid or 1-2 drops of food-grade essential oil is enough for a light flavor.
Mix the edible ingredients with your lip gloss base, such as petroleum jelly, beeswax, or shea butter, until fully combined. Don’t forget to adjust the consistency of the lip gloss by adding more or less of the lip gloss base, as needed.
Once you’re satisfied with the flavor and consistency, excitedly fill the lip gloss into containers and ecstatically store it in a cool, dry place.
Selecting and Using Lip Gloss Containers
Selecting the appropriate lip gloss container plays a pivotal role in maintaining the freshness and usability of your homemade product. Thicker lip gloss made with beeswax or candelilla wax can be stored in squeeze tubes, stainless steel lip balm tins, or small glass containers. For thinner lip gloss recipes without wax, roller ball bottles work best.
Selecting and using the appropriate lip gloss containers, such as lip gloss tubes, offers several benefits.
- Protects the product during shipment
- Enhances branding opportunities
- Provides convenience for travel and storage
- Helps boost sales and brand recognition
Explore different container options to find the perfect fit for your creations.
Filling and Storing Your Lip Gloss
By following a few simple steps, filling lip gloss containers can be effortlessly accomplished. Here’s how:
- Make sure your lip gloss mixture is fully combined and at the desired consistency.
- Next, you can either use a syringe or carefully pour the mixture directly into the lip gloss container.
- Be sure to fill the containers evenly and avoid overfilling to prevent spills and leaks.
To ensure a long shelf life for your homemade lip gloss, store the containers in a cool, dry place and use them within six months. This will prolong the freshness and quality of your lip gloss, keeping your lips looking and feeling amazing for longer.
Alternative Ingredients and Substitutions
Numerous alternative options are available if you wish to replace beeswax or experiment with various moisturizing ingredients. Soy or candelilla wax can be used as an awesome substitute for beeswax in your DIY lip gloss. You may also consider using alternative carrier oils like jojoba oil, fractionated coconut oil, or olive oil instead of almond oil.
Alternative moisturizing ingredients that can be used in your lip gloss recipe include shea butter, cocoa butter, and jojoba oil. Feel free to explore different ingredient combinations to create a lip gloss that caters to your specific needs and preferences.
Preservatives and Shelf Life
While diy lip gloss does not always require a preservative, using one can help extend its shelf life. Geogard ECT can be used as a preservative in lip gloss, at a ratio of 0.6-1% of the formula.
Factors affecting the shelf life include temperature, light, and air exposure. To extend the product’s longevity, store your lip gloss in a cool and dry place away from direct sunlight.
With proper storage and care it can last up to six months, ensuring that you have a fresh and beautiful lip gloss option at your fingertips.
DIY Lip Gloss for Sensitive Skin
For those with sensitive skin, a specially designed lip gloss can be created using gentle, moisturizing ingredients such as:
- castor oil
- olive oil
- coconut oil
- beeswax
- vitamin E oil
These ingredients are known for their soothing properties, making them perfectly suited for sensitive skin.
You can customize your lip gloss for sensitive skin by adjusting the consistency and adding essential oils for flavor, if desired. Be sure to store your lip gloss in a cool, dry place and use it within six months.
With the right ingredients and care, you can create a lip gloss that pampers your sensitive skin and keeps your lips looking and feeling fantastic.
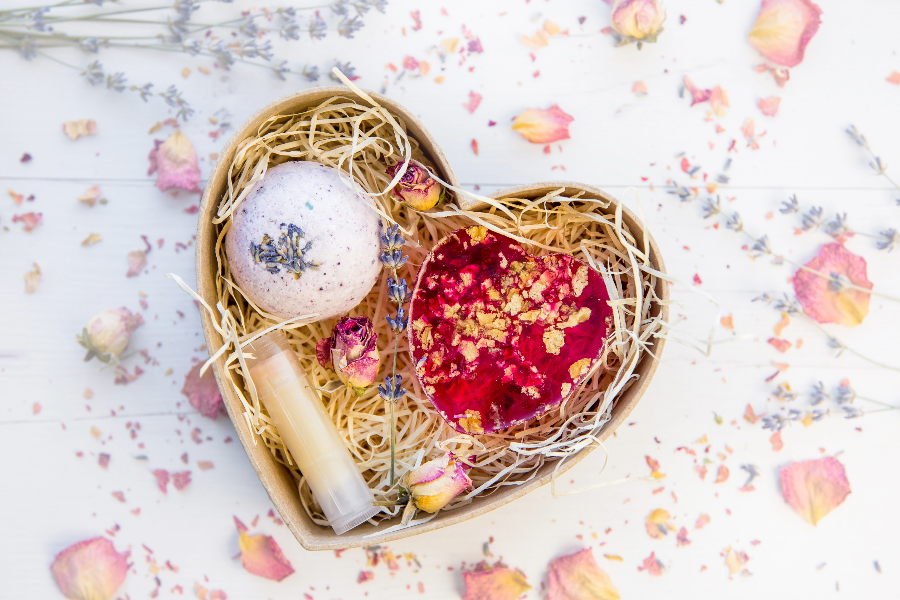
Gifting and Packaging Ideas
Offer your loved ones a unique and thoughtful gift with homemade lip gloss. You can create spa gift sets by pairing your lip gloss with other DIY beauty products, such as bath salts, body scrubs, or scented candles. Package your lip gloss in beautiful containers, like roller bottles or lip balm tins, and wrap them in layers of tissue paper before placing them in an organza bag for an elegant presentation.
You can also create personalized labels for your lip gloss containers, showcasing your creativity and adding a special touch to your gift. Homemade lip gloss is not only a great gift for birthdays, anniversaries, or holidays, but it also shows your loved ones that you’ve put thought and care into creating something unique and special just for them.
Final Thoughts
Creating your own diy lip gloss at home is a fun, creative, and eco-friendly way to enjoy beautiful, healthy, and personalized lip glosses. By using natural ingredients and experimenting with different carrier oils, colorants, and essential oils, you can create a lip gloss that is uniquely yours and suited for your skin type.
Whether you’re making lip gloss for yourself, as a gift for someone special, or as a fun activity to share with friends and family, the process is enjoyable and rewarding.
Frequently Asked Questions
What are the ingredients to make lip gloss?
Creating DIY lip gloss requires a few basic ingredients like beeswax, a base oil such as coconut oil or caster oil, an essential oil such as vitamin E, and optional colorants and flavorings.
For added moisture, you can also add emollients like lanolin, jojoba oil, and mango butter. Enjoy a beautiful scent and gorgeous color with your homemade lip gloss!
How do you make lip gloss base from scratch?
Mix carrier oils and beeswax, heat until melted, then add pigments and quickly fill your lip gloss tube – voilà! You’ve just created your very own homemade lip gloss base.
Now, you can customize your lip gloss with your favorite essential oils and flavors. Experiment with different combinations to find the perfect blend for you. Have fun and enjoy your new creation!
Can I use any essential oil in my lip gloss?
Yes, you can use some essential oils in your lip gloss, just make sure to dilute essential oils with a carrier oil first and only use lip-safe essential oils like lavender, orange, lemon, grapefruit, and vanilla!
Exciting!
How long does homemade lip gloss last?
Enjoy your homemade lip gloss for up to six months with proper storage!
Can I make lip gloss without beeswax?
Yes, you can absolutely make lip gloss without beeswax – simply use soy wax or candelilla wax, or get creative with coconut oil and vitamin E oil.