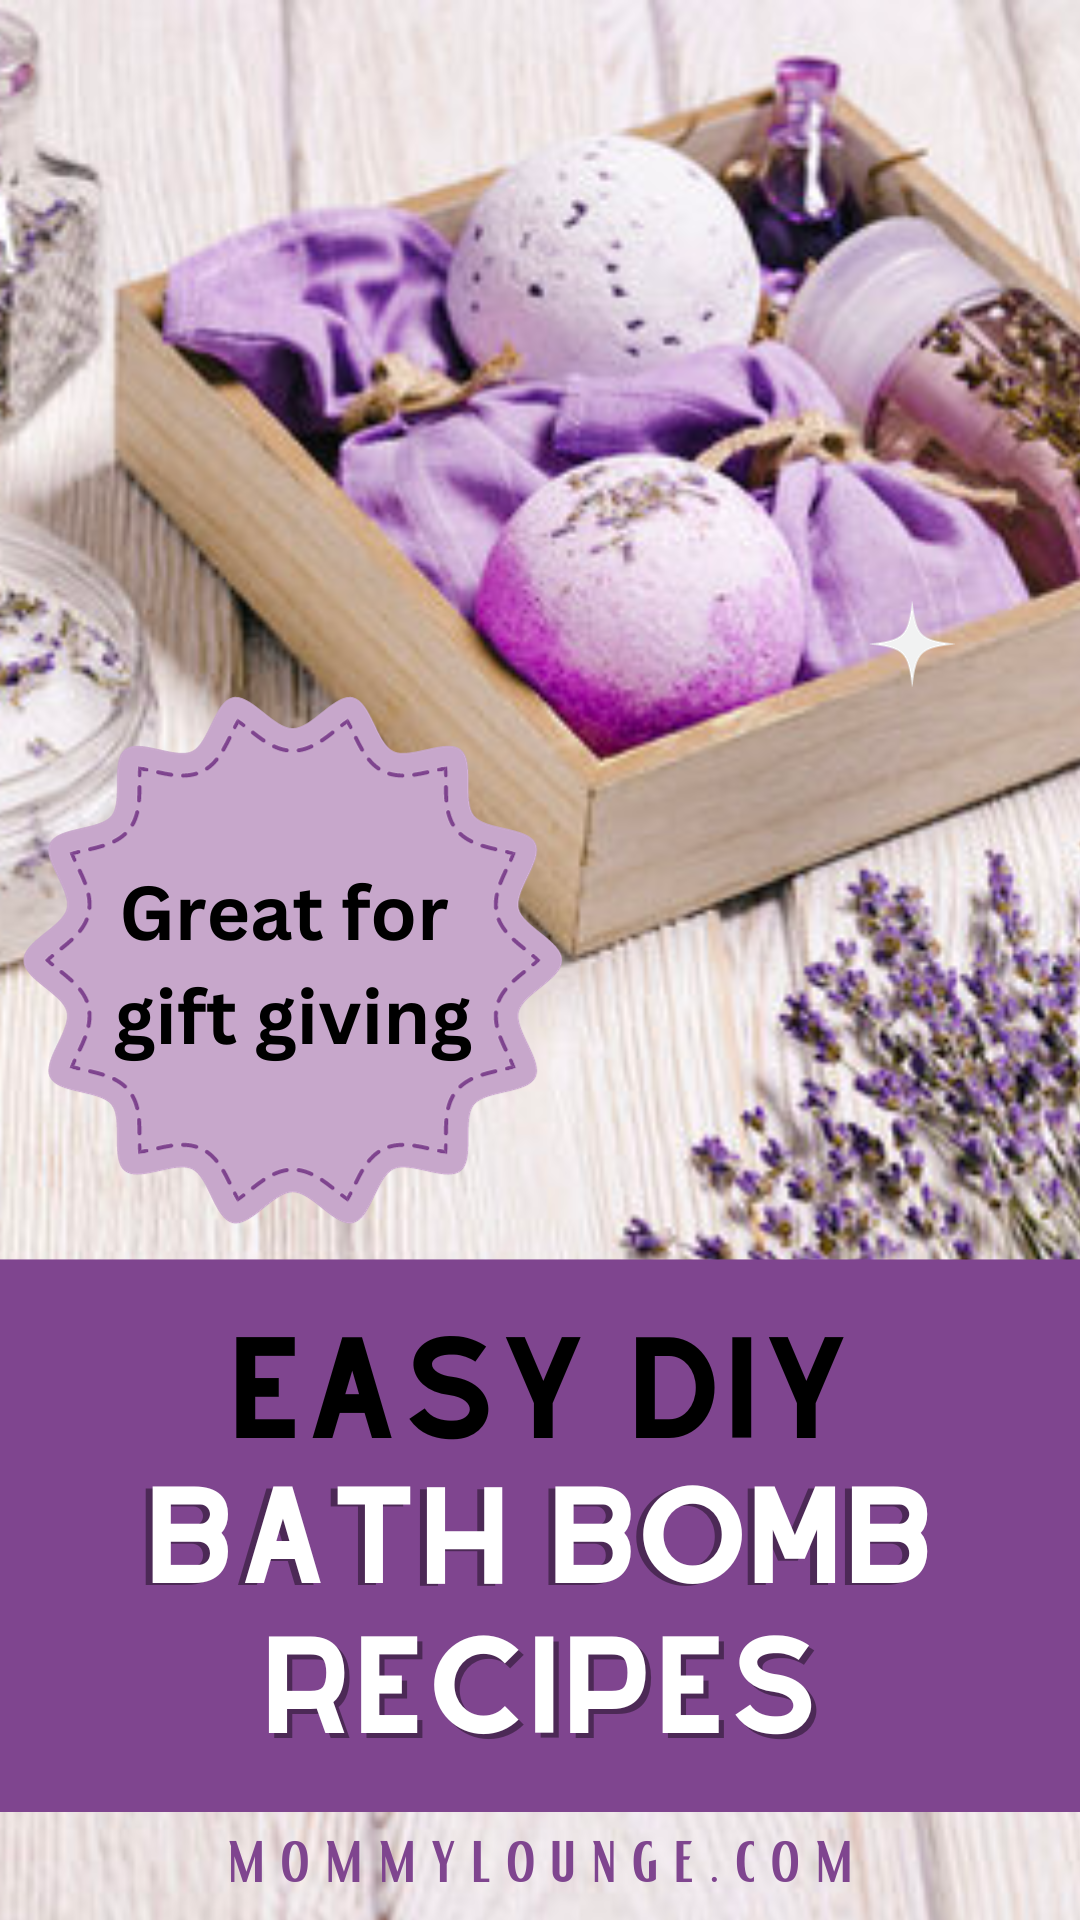
Give the gift of luxurious bath bombs or enjoy a relaxing fizzy bath. You can make your own diy bath bombs at home with this blissful aroma filled bath bomb recipe. Learning how to make bath bombs or bath fizzies (another term for them) is not only fun and easy, but it also allows you to customize to make a personalized and therapeutic bathing experience.
In a Nut Shell
- Create luxurious DIY bath bombs with simple DIY recipes & customize them to your liking!
- Experience the ultimate relaxation with natural colorants, essential oils and calming elements.
- Make kid friendly bath fizzies using gentle ingredients & fun surprises for a worry free experience!
Gathering Your Bath Bomb Ingredients
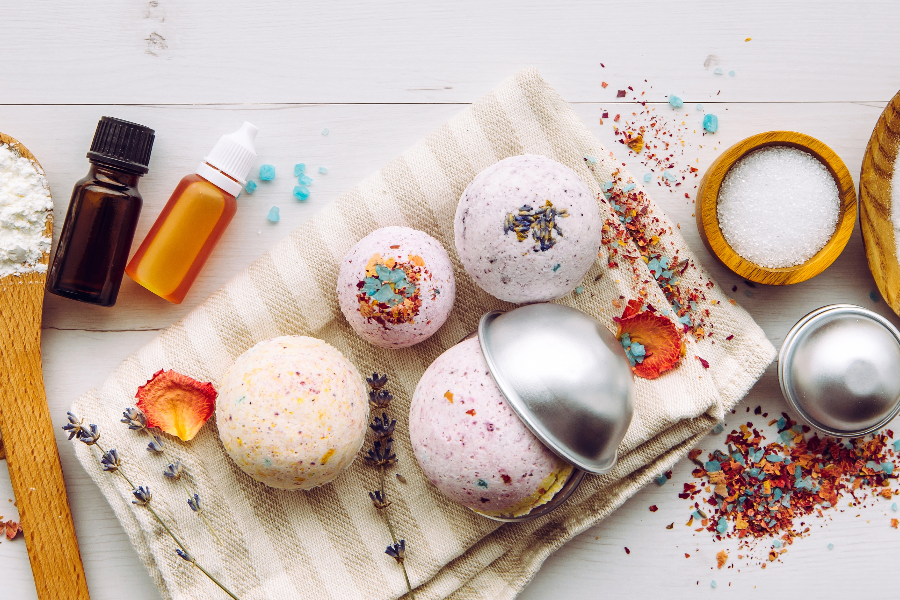
First, we need to assemble all the necessary ingredients and tools for making bath fizzies or bombs. You will need:
- Baking soda: the key ingredient that helps create the fizzy reaction when it comes in contact with water
- Citric acid: a natural compound derived from citrus juice, sugar cane, and cassava, which is safe to use and plays a significant role in the fizzing process
- Epsom salt: an excellent addition for a soothing soak to relieve aching muscles
- Corn starch: helps bind the ingredients together and adds a silky texture to the bath bomb
- Essential oils: provide delightful scents and therapeutic benefits when added
- Bath bomb molds: to shape and mold your bath fizzies
The right molds are key to shaping your creations. Silicone molds, bath bomb molds, and even ice cube trays can work wonders for this purpose.
Once you have all the necessary ingredients and tools, you are ready to embark on your exciting journey of making your own DIY bath bombs!
Choosing the Right Essential Oil
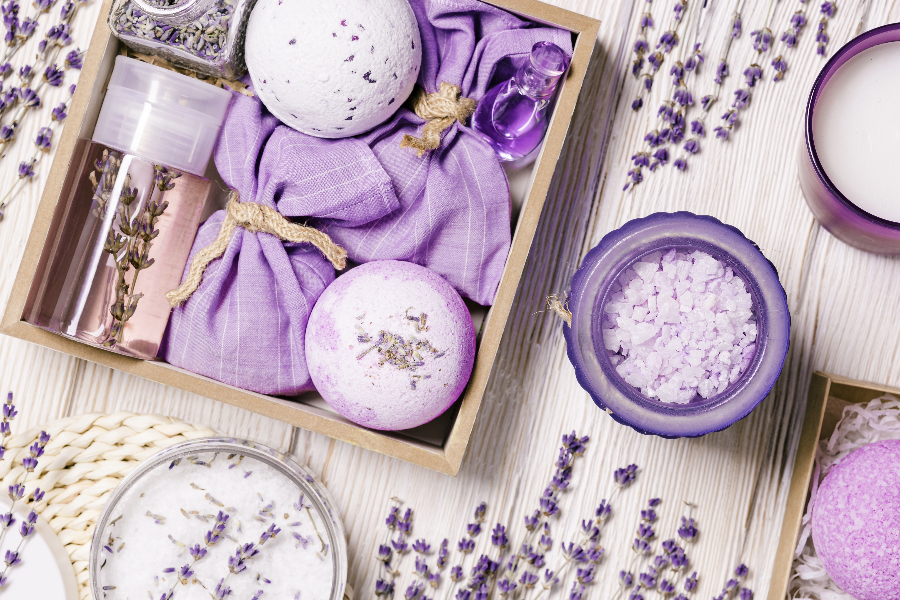
Selecting the right essential oil for your bath fizzy creation can greatly enhance your bathing experience. Essential oils are natural oils extracted from plants and are known for their delightful scents and therapeutic benefits. Some popular essential oil options include lemongrass, lavender, and peppermint. You can also add herbs and flower buds, such as lavender buds or rose petals, to create an even more enchanting aroma.
For those new to essential oils, discovering the ideal scent for your skin can seem daunting, yet it’s a thrilling journey! Start by trying different ones and experimenting with various combinations to discover your favorites. Remember, the key is to choose essential oil based on the desired scent and therapeutic benefits you wish to achieve.
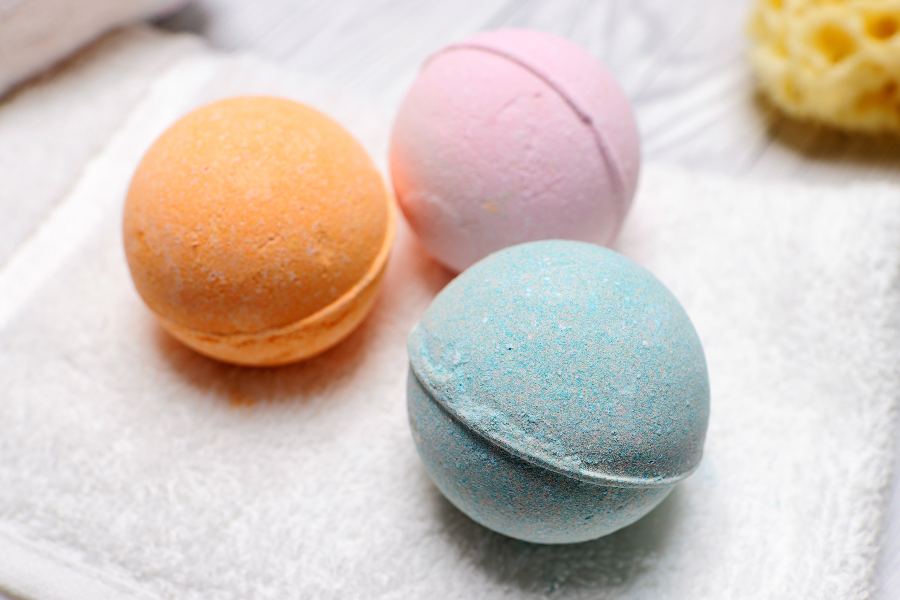
Selecting Natural Colorants
Adding vibrant, natural colorants to your bath bombs can make them even more visually appealing. Some exciting natural colorants include:
- Mica powder
- Food coloring
- Ground herbs
- Spices
- Natural vegetable powders
- Spirulina
- Beet root powder
Mica powder, a natural soap colorant, is safe to use and helps achieve stunning colors in bath bombs.
Ground herbs, spices and natural vegetable powders can be used to add a natural tint. These ingredients are 100% natural and boost the look of bath bombs. Spirulina can create green and blue hues, while beet root powder gives pink or red tints. These colored bath bombs fizz and make bathing a more enjoyable experience. Dried orange peel is another optional ingredient that adds a beautiful touch and smell.
Simple DIY Bath Bomb Recipe
With all your ingredients and tools at hand, let’s delve into the simple DIY bath bomb recipe! To make your bath bombs, you will need:
- 2 cups of baking soda
- 1 cup of corn starch
- 1 cup of citric acid
- 1 cup of Epsom salts
- 4 teaspoons of sweet almond oil
- 4 teaspoons of essential oil or fragrance oil
- 2 teaspoons of distilled water
- a few drops of liquid soap dye or food coloring.
The process of creating bath bombs is relatively straightforward: mix dry ingredients, mix wet ingredients, slowly add wet ingredients to dry ingredients, mold, and dry for 24 hours.
Adhering closely to this recipe will result in safe, luxurious, and deeply satisfying homemade bath bombs. The average cost of a homemade bath bomb is around $0.50, making this a fun and affordable DIY project.
Now, let’s begin to make bath bombs and craft some fantastic ones!
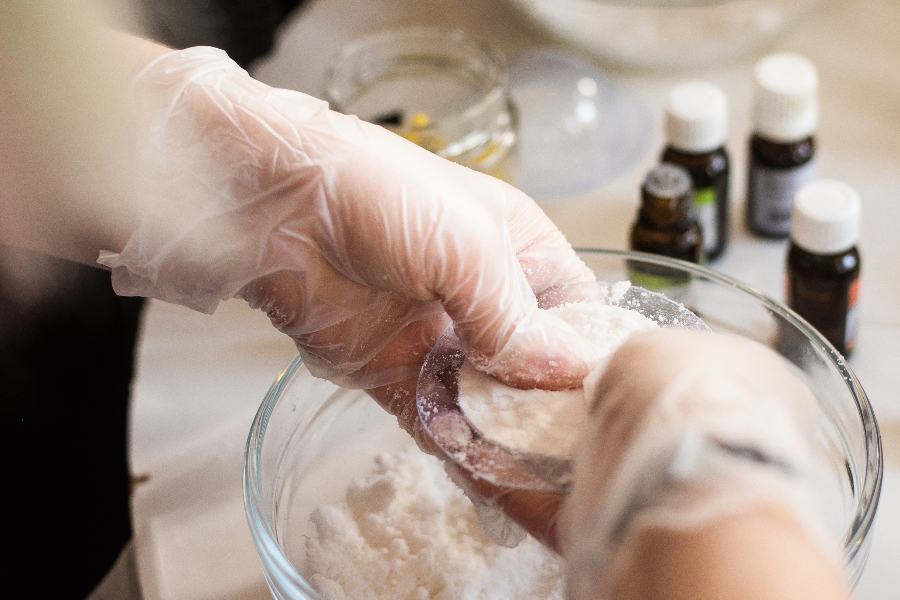
Combining Dry Ingredients
To begin, you need to properly mix the dry ingredients for your bath bombs. This includes:
- Baking soda
- Citric acid
- Epsom salt
- Corn starch

Bath Bomb Recipe
Ingredients
- 2 cups of baking soda
- 1 cup of corn starch
- 1 cup of citric acid
- 1 cup of Epsom salts
- 4 teaspoons of sweet almond oil
- 4 teaspoons of essential oil or fragrance oil
- 2 teaspoons of distilled water
- A few drops of liquid soap dye or food coloring
Instructions
Dry Mixture:
- In a large mixing bowl, combine the baking soda, corn starch, citric acid, and Epsom salts. Whisk together until well combined and free of clumps.
Wet Mixture:
- In a small bowl, combine the sweet almond oil, essential/fragrance oil, and distilled water. Add a few drops of your chosen dye or food coloring until you reach your desired color. Mix well.
Combine:
- Slowly add the wet mixture to the dry mixture, whisking constantly to avoid the reaction. The mixture should resemble wet sand when fully combined.
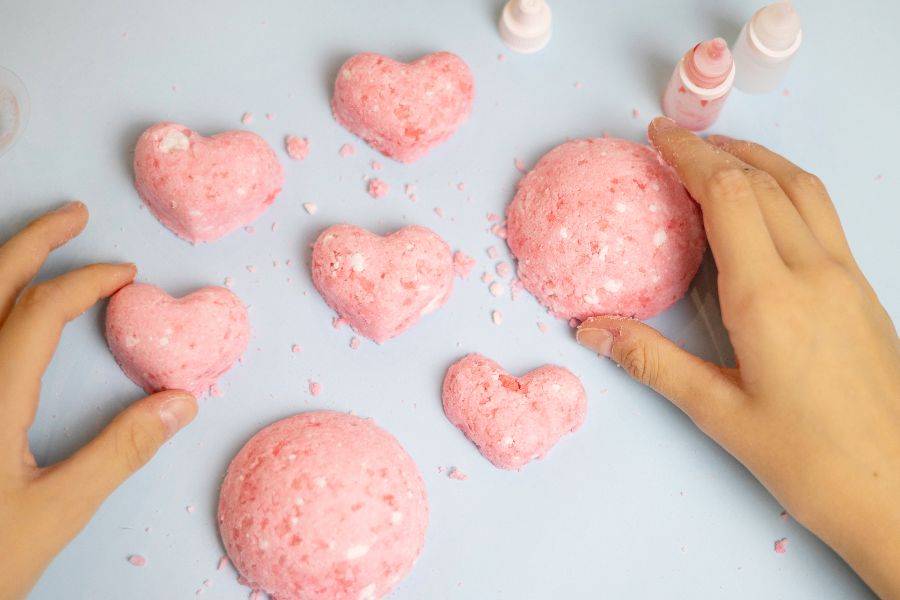
Mold:
- Quickly pack the mixture tightly into molds of your choice. You can use silicone molds, spherical molds, or even ice cube trays. Let them sit for a few minutes in the mold before gently tapping them out.
Dry:
- Allow the bath bombs to dry for at least 24 hours in a cool, dry place.
Notes
**Safety: Always be cautious when using essential oils. Some might be sensitive to the skin, so it's essential to know which ones you are using and if they're skin-safe. Always do a patch test if you're uncertain.
After removing the bath bomb from the mold, place it on a sheet of wax or parchment paper to dry. Allowing the bath bombs to dry for at least 24 hours is vital to ensure they maintain their shape and deliver an optimal fizzing experience. With a little patience, you’ll have amazing DIY bath bombs ready for use or gifting!
Customizing Your DIY Bath Bombs
Make your own bath bombs that you can customize to your liking! You can experiment with various ingredients to create unique and personalized bath fizzies or bombs. Here are some ideas:
- Use different essential oils to create different scents. For a calming bath bomb, try lavender essential oil. For an invigorating bath bomb, try citrus essential oils like lemongrass or orange.
- Add dried flowers or herbs, like dried lavender, for an extra touch of relaxation.
- Use mica powder or other natural colorants to create vibrant and colorful bath bombs.
Take a relaxing bath with a calming bath bomb or enjoy an invigorating soak with a citrus-scented bath bomb. The possibilities are endless when you make your own bath fizzies!
In addition to playing with different scents and colors, you can also incorporate relaxing elements like dried flowers or herbs to enhance the therapeutic benefits of your bath bombs. The possibilities are endless, so let your creativity run wild and create bath bombs that are perfect for you or your loved ones!
Creating Multi-Colored Bath Bombs
Why not take your bath bomb creations to the next level by making them multi-colored? There are two exciting methods to achieve this effect: the layered method and the mixing method.
To use the layered method, simply:
- Add one color to one side of the bath bomb mold.
- Add another color on top.
- Repeat this process on the other side of the mold with a different set of colors.
This will create a beautiful layered effect, reminiscent of wet sand, when the bath bomb fizzes in the water.
For the mixing method, start with a basic DIY bath bomb recipe and add a few drops of your desired colorant to the mixture. Keep adding more color until you achieve the desired shade. You can experiment with different colors and combinations to create stunning multi-colored bath bombs.
Both methods are fun and easy to follow, so choose the one that appeals to you the most and enjoy creating dazzling, vibrant bath bombs!
Adding Relaxing Elements
Incorporating relaxing elements into your bath bombs can provide additional therapeutic benefits and make your bathing experience even more enjoyable. Some options include adding dried flowers, herbs, or other natural ingredients, such as lavender buds or rose petals. These elements not only enhance the aroma of your bath bombs, but also contribute to a soothing and calming atmosphere.
When incorporating relaxing elements into your bath bomb recipes, it’s essential to use only natural ingredients and avoid using too much of any one ingredient. Also, make sure the ingredients are finely ground to prevent any discomfort during your bath. With the right balance of ingredients, your bath bombs will provide a truly relaxing and rejuvenating experience.
Troubleshooting Common Bath Bomb Issues
Like any DIY project, making bath bombs can sometimes come with challenges. One common issue is getting the right moisture content into the bath bomb mixture, which is crucial for achieving the perfect fizz. Another problem you might encounter is cracked bath bombs, which can result from too much moisture or not enough moisture in the mixture.
Don’t worry! We’ve got you covered with solutions to these common issues and more.
This section offers insights on how to repair cracked bath bombs, ensure maximum fizz, and prevent frequent issues. With a little patience and practice, you’ll soon master the art of making flawless homemade bath bombs!
Fixing Cracked Bath Bombs
Cracked bath bombs can be a bummer, but fear not! You can easily fix them by gently pressing the cracked parts back together or removing all the mixture back to the mixing bowl and starting the molding process again. To prevent future cracking, make sure you’re using the correct mold, measuring the ingredients accurately, and storing the bath bombs in a cool, dry place.
Bear in mind, maintaining a balance between the moisture content and the dry ingredients in your bath bomb mixture is vital. By paying close attention to the texture and consistency of your mixture, you can avoid cracking and create beautiful, smooth bath bombs that you’ll be proud to use or gift!
Ensuring Maximum Fizz
Who doesn’t love a bath fizzy with an amazing fizz? For maximum fizz, using the correct ratio of citric acid to baking soda is crucial. A ratio of one part citric acid to two parts baking soda is highly recommended for the best fizzing experience.
Moreover, using bath bombs in hot water will amplify the fizzing effect as the heat causes the ingredients to react faster. Proper storage and usage of bath bombs also play a crucial role in their fizziness. Bath bombs should be stored in an airtight container and used within three months for the best results.
By following these tips, you can ensure that your DIY bath bombs provide the perfect fizz every time!
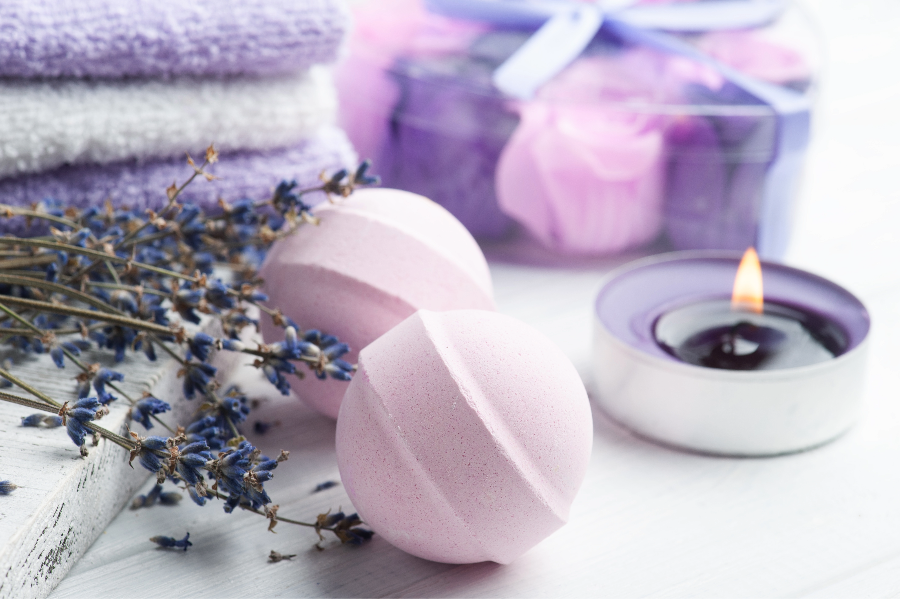
Storing and Gifting DIY Bath Bombs
Making DIY bath bombs is an excellent idea for a gift. They are a treat that nearly everyone can appreciate! Knowing how to store bath bombs is necessary to maintain their freshness and optimal flavor. Wrap them in plastic wrap. Store them in a dry place until you need them. Give them as gifts to friends or keep for yourself. Bath bombs can last for at least six months when stored correctly, so you’ll have plenty of time to enjoy them or share them with your loved ones.
In addition to proper storage, presenting your homemade bath bombs as gifts can be a truly unique and thoughtful gesture. Some packaging and presentation ideas include:
- Mason jars
- Cellophane bags
- Decorative boxes
- Tissue paper with a ribbon or bow
The possibilities are endless, so have fun and spread the joy of your DIY bath bomb recipe!
Proper Storage Techniques
Correct storage of bath bombs is key to preserving their quality and lifespan. Here are some tips:
- Keep them in a cool, dry place
- Store them in an airtight container or plastic bag to prevent them from absorbing moisture from the air
- Store them in a dark or opaque container to preserve their vibrant colors and prevent fading over time
Following these storage tips will help ensure that your bath bombs stay fresh and fizzy for longer.
Following these proper storage techniques will ensure that your bath bombs remain fresh, fizzy, and ready for use whenever you need a relaxing and rejuvenating bath. Plus, your DIY bath bombs will make impressive gifts that showcase your creativity and thoughtfulness!
Creative Gifting Ideas
Homemade bath bombs make for unique and thoughtful gifts that your friends and family will undoubtedly appreciate. You can package your bath bombs in a variety of ways, such as in mason jars, cellophane bags, or decorative boxes. You can also wrap them in tissue paper or add a ribbon or bow for a special touch.
To elevate your gift even further, consider presenting your bath bombs in a basket or tray with other items like candles, soaps, or lotions. Adding a personalized note or card to your bath fizzies gift can make it even more special and memorable. By putting thought and care into your homemade bath fizzies gifts, you’re not only sharing a luxurious and enjoyable experience, but also showing your loved ones how much they mean to you.
Kid-Friendly Bath Bomb Recipe Options
The fun and rewarding activity of creating safe and enjoyable bath fizzies for children awaits you. When making them kid-friendly, it’s essential to use gentle ingredients that are suitable for sensitive skin. Lavender essential oil is a great option in your simple bath bomb recipe for sensitive skin and provides a calming effect for children.
In addition to using gentle ingredients, incorporating fun surprises into your bath bomb recipes can make them more appealing to children. This can include hidden toys, trinkets, or small surprises inside the bath fizzies that are revealed as it dissolves in the water. With a little creativity and attention to safety, you can making homemade bath bombs that kids will love and enjoy!
Using Gentle Ingredients
Choosing gentle ingredients that are safe for children is important when making bath fizzies. Some gentle ingredients include:
- Baking soda
- Citric acid
- Epsom salt
- Corn starch
- Almond oil
- Coconut oil
- Scented oil
When using essential oils in bath bombs for kids, make sure to use no more than a few drops to prevent any irritation or overpowering scents.
By using gentle ingredients, you can ensure that your DIY bath bombs are not only enjoyable for children, but also safe for their sensitive skin. This way, kids can have a fun and relaxing bath time experience without any worries!
Incorporating Fun Surprises
Incorporating fun surprises in your bath fizzies can add a layer of excitement for children. You can press small toys, trinkets, or other surprises into the middle of the bath bomb before it dries and hardens. This creates a thrilling reveal as the bath fizzy dissolves in the water, keeping kids entertained and engaged during bath time.
Some examples of fun surprises for kid-friendly bath fizzies include small toys, character figurines, or even candy. Just make sure that the items are safe for children and won’t cause any harm when mixed with water.
With these fun surprises, your DIY bath bombs are sure to delight and entertain children of all ages!
Final Thoughts
Making your own bath fizzies or bombs at home is an exciting and rewarding experience. From gathering the essential ingredients to customizing your creations with unique scents, colors, and relaxing elements, there’s so much to explore and enjoy in the world of DIY bath bombs. Whether you’re crafting them for yourself, as gifts for loved ones, or as kid-friendly options, the possibilities are endless. Gather your supplies, unleash your creativity, and dive into the fun of creating luxurious and personalized bath fizzies!
Frequently Asked Questions
What are the 3 ingredient bath bombs?
Experience a rejuvenating bath with the perfect trio of ingredients – baking soda, citric acid and water – to make your own bath bombs. Just add a few drops of essential oil or soap color to customize your experience and store it in a jar for whenever you need to treat yourself!
Creating your own bath bombs is a simple and fun way to relax and pamper yourself. All you need is baking soda, citric acid, water, and a few drops of essential oil or soap color. Mix the ingredients together.
What oil is best for DIY bath bombs?
Energize your mornings and wind down at night with the perfect combination of lavender 40/42, orange 10X, and eucalyptus essential oils for your DIY bath bombs!
How do I prevent my bath bombs from cracking?
To avoid cracking, use the right mold, accurately measure ingredients, and store your bath bombs in a cool, dry spot!
What’s the best way to store my homemade bath bombs?
Protect your homemade bath bombs in plastic wrap and store them away from moisture in an airtight container for the best results!
How can I make multi-colored bath bombs?
Have fun creating vibrant, multi-colored bath bombs by either layering colors or mixing them together!