Tired of spending a ton of money on store-bought beauty products only to find they’re loaded with harmful chemicals? Making your own DIY face moisturizer is not only budget-friendly, but it also allows you to customize the ingredients to suit your skin type and preferences. In this blog post, we’ll discuss the benefits of creating your own face moisturizer, walk through essential components, share five amazing recipes, and give you tips for storage and usage.
Key Takeaways
- DIY face moisturizers are a budget-friendly, customizable way to nourish skin with natural ingredients.
- Making your own is cost effective and you can customize it for different skin types & preferences.
- Store and use properly for best results – test before use, tweak texture if needed & keep fresh up to 1 year!
DIY Face Moisturizer Benefits
Imagine giving your skin the nourishment it craves without breaking the bank or exposing it to harmful chemicals. Sounds like a dream, right?
Well, homemade face moisturizers and a DIY face serum can make that dream a reality! They’re cost-effective, customizable, and made with natural ingredients that your skin will love.
Cost-effective
Why spend a fortune on store-bought beauty products when you can create your own moisturizer for a fraction of the cost? Homemade face moisturizers allow you to save money by buying raw ingredients like vitamin E oil in bulk and reusing jars or containers.
Plus, when you make your own moisturizer, you:
Control the quality of the ingredients
Can customize the formula to your skin’s needs
Ensure that you’re getting the best possible product for your money.
Customization
One of the most significant advantages of homemade moisturizers is the ability to tailor them to your specific skin type and preferences. Want a calming effect? Add lavender essential oil! Need something more nourishing for very dry skin? Try incorporating shea butter or avocado oil.
The possibilities are endless, and you have full control over what goes into your own DIY face moisturizer.
Natural Ingredients
Creating your own face moisturizer allows you to avoid harsh chemicals and toxins commonly present in off-the-shelf products. Instead, you can use natural ingredients like:
cocoa butter
mango butter
fractionated coconut oil
sweet almond oil
shea butter
hemp seed oil
These ingredients not only nourish your skin, but also provide numerous benefits like anti-aging properties and acne reduction without clogging pores. So why not give your skin the natural care it deserves?
Essential Components of DIY Face Moisturizers
Crafting the perfect homemade moisturizer calls for a blend of carrier oils, essential oils, and butters. Each of these components plays a crucial role in providing your skin with the proper nourishment and care.
We’ll delve into each of these integral components.
Carrier Oils
Carrier oils are the base of DIY face moisturizers, acting as a vehicle to transport more potent, active ingredients that can’t be used directly on the skin. Some popular carrier oils include:
Jojoba oil
Fractionated coconut oil
Argan oil
Avocado oil
Sweet almond oil
Grapeseed oil
Hemp seed oil
Rosehip oil
These oils, including olive oil, are widely used for skin health care treatments.
Beyond hydrating dry skin, these oils confer several benefits like anti-aging and anti-microbial properties, making them indispensable in any homemade moisturizer.
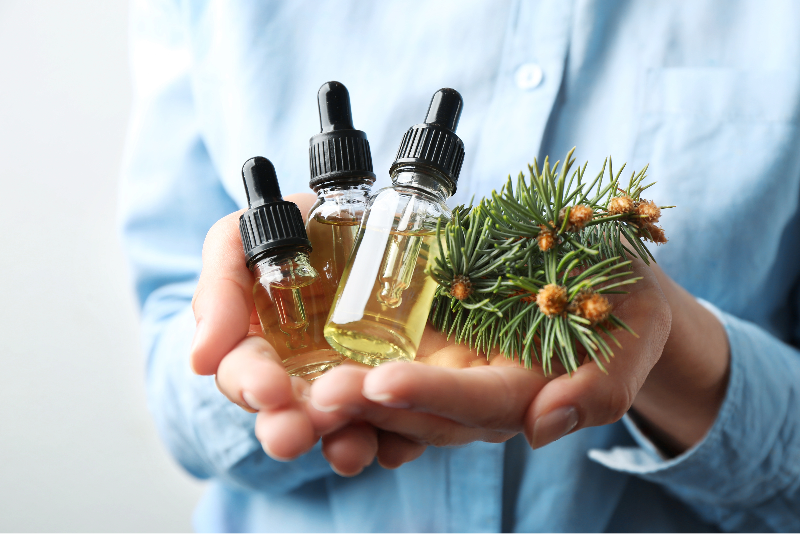
Essential Oils
Essential oils lend a potent effect to your DIY face moisturizer. They’re highly concentrated and can help tackle issues like:
anti-aging
acne
dry skin
oily skin
Given their potency, it’s vital to dilute them prior to application on your face to prevent any irritation or lasting damage.
Some gentle essential oils to consider include lavender, chamomile, and yarrow pom. Remember, a few drops go a long way when it comes to essential oils!
Butters
Butters, such as shea or cocoa, impart a smooth, creamy texture to your homemade moisturizer while promoting skin hydration. They also protect your skin from environmental damage and reduce the appearance of wrinkles and fine lines.
Incorporating cosmetic butters into your DIY face moisturizer can elevate the final product, ensuring your skin gets the nourishment it needs.
Top 5 DIY Face Moisturizer Recipes
With a grasp of the benefits and key components of homemade face moisturizers, let’s turn our attention to some recipes! We’ve gathered five amazing DIY face moisturizer recipes that cater to various skin types and concerns.
Let’s examine each one to find the recipe that best suits your facial skin!
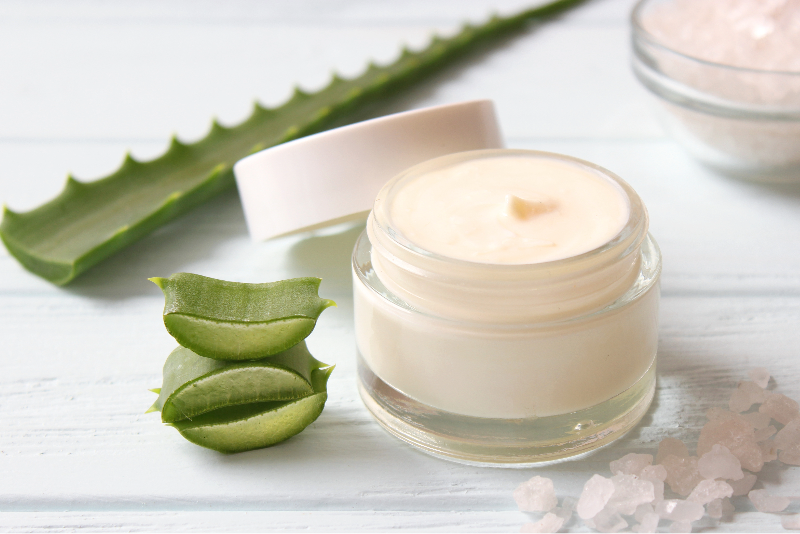
Soothing Aloe Vera Moisturizer
If you have sensitive skin or irritated skin, a soothing aloe vera moisturizer is an excellent option. Aloe vera gel is known for its hydrating and anti-inflammatory properties, making it perfect for calming any skin irritation.
To create this moisturizer, simply:
- Mix aloe vera gel with a carrier oil of your choice
- Add a few drops of a calming essential oil like lavender or chamomile
- Apply the mixture to your face for instant relief and hydration.
Nourishing Avocado Moisturizer
For those with dry skin, a nourishing avocado moisturizer can work wonders. Avocado is packed with vitamins and essential fatty acids that deeply hydrate and nourish the skin.
Combine mashed avocado with a carrier oil and your choice of essential oil for a moisturizer that will leave your skin feeling soft and refreshed.
Balancing Green Tea Moisturizer
Struggling with oily or acne-prone skin? A balancing green tea moisturizer can help control oil production and reduce acne.
Simply mix 1 teaspoon of green tea with 1 tablespoon of a carrier oil and 1 drop of an essential oil like tea tree or lavender. Apply the mixture to your face twice daily, and watch your skin transform!
Anti-Aging Rosehip Moisturizer
Combat fine lines and wrinkles with an anti-aging rosehip moisturizer. Rosehip oil has been praised for its ability to reduce the appearance of wrinkles and improve skin elasticity.
Mix rosehip oil with a carrier oil and a few drops of an anti-aging essential oil like carrot seed or rose. Apply the moisturizer to your face daily for a youthful, radiant complexion.
Lightweight Jojoba Moisturizer
If you have oily or combination skin, a lightweight jojoba moisturizer is the perfect choice. Jojoba oil closely resembles the natural oils our skin produces, making it suitable for all skin types. It hydrates, nourishes, and balances oil production without clogging pores.
Combine jojoba oil with aloe vera gel and a few drops of your favorite essential oil for a lightweight moisturizer that won’t leave your skin feeling greasy.
Tips for Storing and Using DIY Face Moisturizers
Proper storage and usage are crucial to maximizing the benefits of your homemade face moisturizer. Proper storage can extend the shelf life of your moisturizer and ensure its effectiveness, while proper usage can maximize the benefits you receive from the product.
Let’s delve into some advice for the storage and application of your DIY face moisturizer.
Storage Tips
Storing your homemade face moisturizer in a cool, dark place and in airtight containers can help prolong its shelf life and maintain its effectiveness. Some great options for storage include short mason jars with wide mouth lids or small pump bottles.
By taking care of your DIY moisturizer and storing it correctly, you ensure that your skin receives the best possible care.
Usage Instructions
For optimal results, use your homemade face moisturizer daily after cleansing and toning your face. Apply a dime-size amount of the moisturizer in the palm of your hand and spread it evenly over your face, using more in spots that tend to dry out quickly and less in the T-zone if you have acne.
Gently massage the moisturizer into your skin using a circular motion, allowing it to absorb fully. Consistent use will help you achieve healthy and nourished skin.
Troubleshooting Common DIY Moisturizer Issues

Despite the substantial rewards of creating your own face moisturizer, encountering a few hiccups is not unusual. Whether you’re dealing with texture problems or allergies, we’ve got you covered.
Let’s examine some typical DIY moisturizer challenges and their solutions.
Texture Issues
Achieving a smooth, creamy consistency can be tricky when making your own face moisturizer. If you’re experiencing texture issues, try mixing a few carrier oils, essential oils, and butters together and blending them using a blender or food processor.
Adjusting the ratios of your ingredients can also help improve the texture of your DIY moisturizer.
Allergies and Sensitivities
Before using your homemade face moisturizer, it’s essential to test it for allergies and sensitivities. Here’s how:
- Apply a small amount of the moisturizer to your arm.
- Wait a day to see if any reaction occurs.
- If you experience redness, itching, or burning, wash the area with soap and water and discontinue use.
To avoid reactions in the future, be sure to review the ingredients list and avoid anything you’re allergic to.
Shelf Life
To maximize the shelf life of your DIY face moisturizer, follow these tips:
- Always use fresh ingredients
- Store your product in an airtight container
- Keep it at room temperature
- Store it away from direct sunlight
Depending on the ingredients used, homemade moisturizers can last up to a year if stored properly.
Keep an eye on the texture and smell of your product to determine if it’s time to whip up a new batch.
Final Thoughts
Creating your own DIY face moisturizer is a fantastic way to nourish your skin with natural ingredients while saving money and reducing chemical exposure. With a variety of recipes tailored to different skin types and concerns, you can find the perfect homemade moisturizer for your unique needs. Remember to store and use your moisturizer correctly to maximize its benefits, and don’t be afraid to troubleshoot and customize as needed. So go ahead, give your skin the love it deserves with your own homemade face moisturizer!
Frequently Asked Questions
How can I make my own face moisturizer?
Make your own face moisturizer by melting shea butter using a double boiler, adding in rosehip seed oil and avocado oil, and mixing everything well.
Store in an airtight jar and use daily for best results!
What is a 3 ingredient DIY moisturizer?
Make your own 3 ingredient moisturizer using coconut oil, shea butter and olive oil for smooth, soft and glowing skin.
Add essential oils for extra nourishment!
What oil is best for DIY moisturizer?
For DIY moisturizers, natural oils like coconut, shea butter, and olive oil are great choices that have been used for skin care for centuries. They provide moisturizing, protective, and antibacterial properties to nourish your skin.
What are some common issues with homemade face moisturizers?
DIY moisturizers can suffer from issues such as texture problems, allergies, and sensitivities.
Proper troubleshooting is key to ensuring your homemade face moisturizer works optimally.
How can I ensure a smooth, creamy consistency for my DIY face moisturizer?
For a smooth and creamy moisturizer, blend your ingredients using a blender or food processor, adjusting the ratios as necessary.
This will ensure that all the ingredients are evenly distributed and that the moisturizer has a consistent texture.