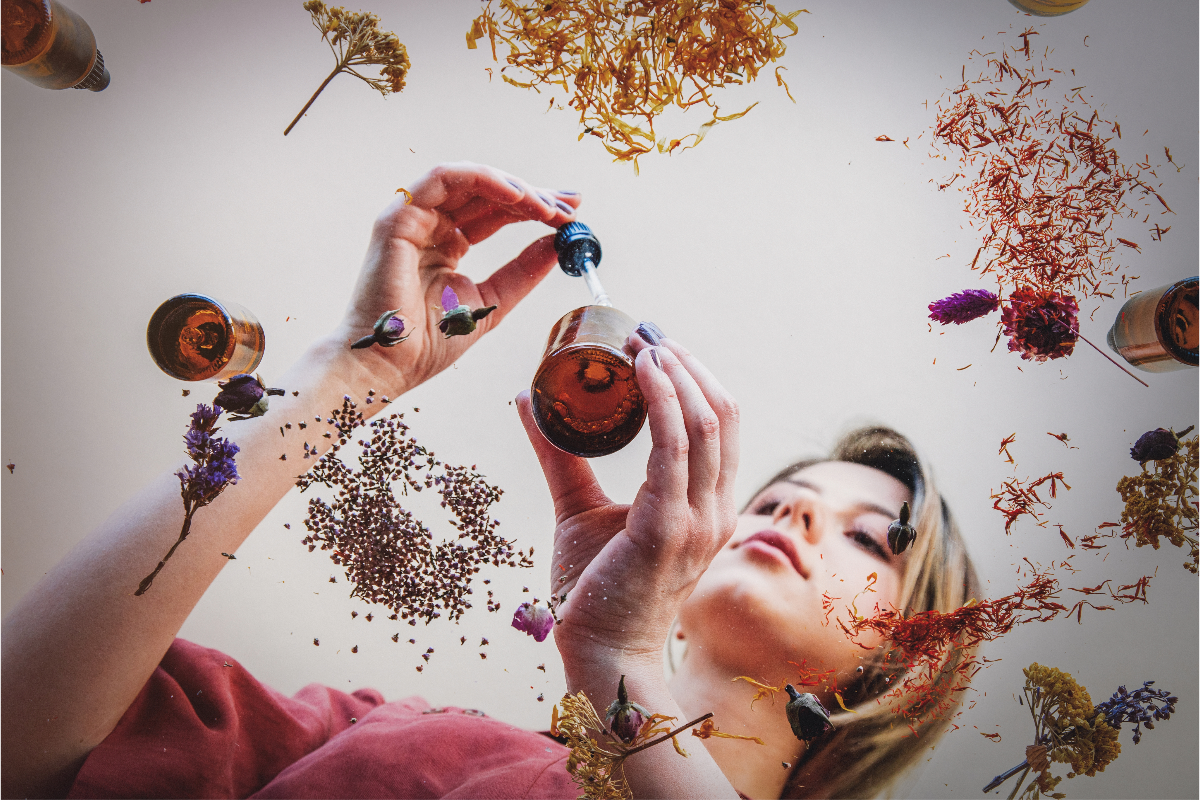
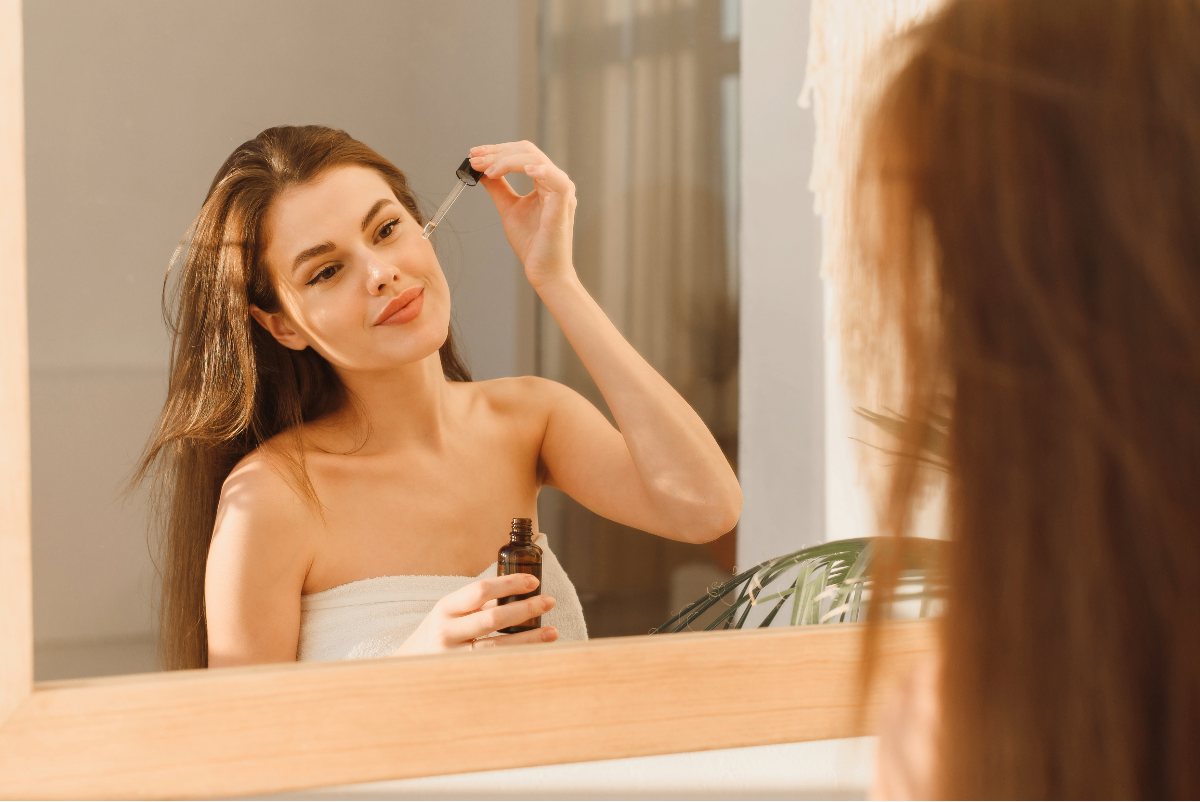
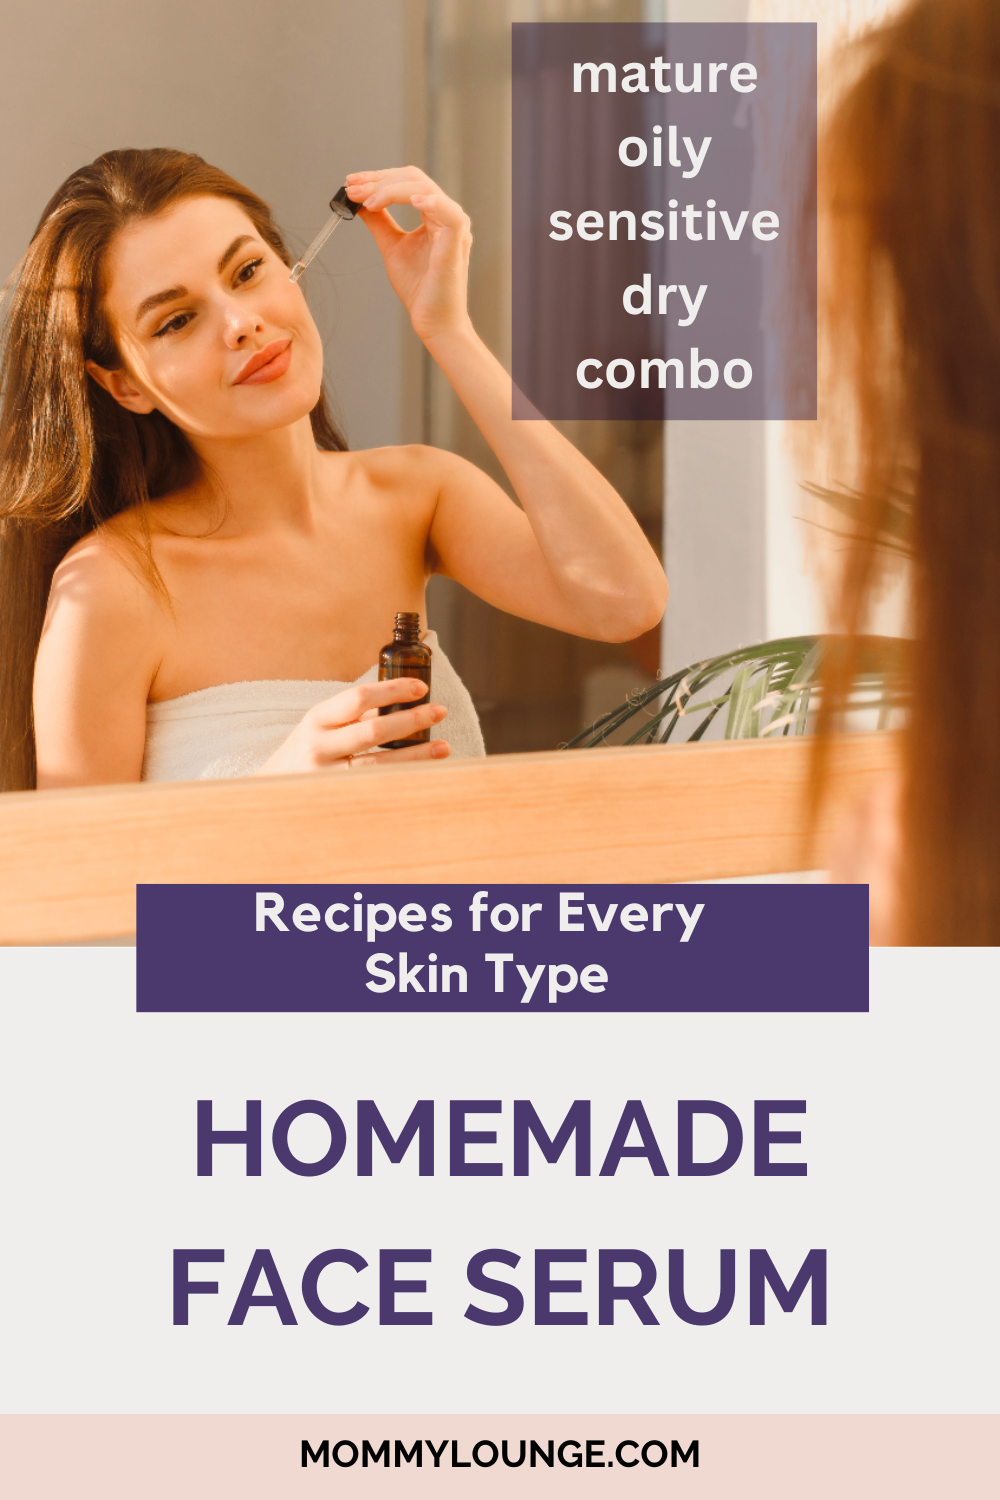
 Don’t spend a fortune on skincare products that either don’t work as promised or unload toxic chemicals onto your beautiful skin. What if we told you that you can create your own customized DIY face serum at home, using natural ingredients tailored to your skin type and needs? Not only will you save money, but you’ll also have full control over the ingredients and can avoid potentially harmful chemicals and fillers. Your skin will thank you for the switch! So, let’s start your journey towards a healthier, glowing complexion with these fantastic diy face serum recipes for every skintype.
Highlights
Understand your skin type and tailorDIY face serum ingredients to it
Select organic, cold-pressed carrier oils for the best results
Incorporate antioxidants, vitamins & hyaluronic acid for extra nourishment
Understanding Your Skin Type and Serum Needs
Before you embark on your journey of DIY face serums, it’s vital to comprehend your skin type and its unique needs. Knowing your skin type ensures that you choose the right ingredients, like calming lavender essential oil, to maximize the benefits for your unique complexion.
After all, our skin has different needs.
Normal skin craves hydration
Dry skin desires nourishment
Oily skin needs balance
Sensitive skin seeks calming
Mature skin demands anti-aging ingredients.
Identifying Your Skin Type
Determining your skin type is a breeze when you examine its texture, oiliness, and sensitivity. Normal skin is balanced, neither too oily nor too dry, and not sensitive.
Dry skin tends to be flaky and tight, often with a sensitivity to certain products. Oily skin tends to look shiny and is prone to breakouts. Sensitive skin gets easily irritated and may exhibit redness.
Combination skin is a mix of normal, dry, and oily skin in different areas of the face.
Serum Ingredients for Different Skin Types
Crafting the ideal face serum requires selecting ingredients that address your skin type and specific concerns. For instance, dry skin thrives when it receives moisturizing and nourishing ingredients like:
lavender essential oil
ylang-ylang essential oil
chamomile essential oil
sandalwood essential oil
frankincense essential oil
coconut carrier oil
avocado carrier oil
rosehip seed carrier oil
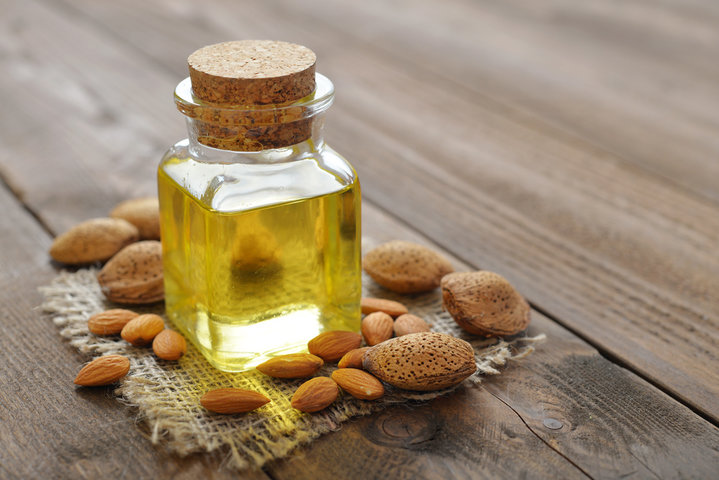
sweet almond carrier oil
These ingredients will help hydrate and nourish your skin, leaving it feeling soft and smooth.
On the other hand, aging skin benefits from essential oils like rose, frankincense, helichrysum, sandalwood, lavender, patchouli, and ylang-ylang, while oily skin essential oils include carrier oils like rosehip seed, jojoba, and avocado oil, which provide nourishment and support a more youthful appearance.
When it comes to sensitive skin, you’ll want to opt for gentler essential oils like chamomile, lavender, and rose, which are known for their soothing and hydrating qualities. Bear in mind, a consultation with a dermatologist is recommended before using any essential oils on your skin, particularly if you suffer from skin conditions like eczema.
Selecting the Perfect Carrier Oil
Selecting an appropriate carrier oil for your homemade face serum recipe is key, as it works with your skin type and ensures the serum won’t clog your pores. Carrier oils also play a vital role in diluting essential oils, making them safe for topical use and helping the essential oils penetrate the skin more effectively.
When it comes to choosing carrier oils, it’s best to go for organic, cold-pressed varieties free from additives or preservatives.
Carrier Oils for Normal Skin
For normal skin, fractionated coconut oil (FCO) is the go-to choice due to its light texture and numerous health benefits. FCO differs from regular coconut oil because it remains liquid at room temperature and prevents oxidation, keeping your serum fresh for longer.
Carrier Oils for Dry Skin
Dry skin craves nourishing carrier oils like olive oil, rosehip oil, and argan oil to provide the necessary hydration and care. These oils are packed with beneficial properties that can help soothe and restore dry skin, making them excellent choices to include in your DIY face serum.
Carrier Oils for Oily Skin
Oily or acne-prone skin benefits from lighter carrier oils like:
Jojoba oil
Grapeseed oil
Argan oil
Sunflower oil
These oils are less likely to clog pores and can help balance the skin’s natural oil production, making them ideal for those struggling with excess oil and breakouts.
For those with dry skin, heavier oils like coconut, avocado, and olive oil can be beneficial.
Essential Oils for Targeted Skin Concerns
In addition to carrier oils, essential oils play a vital role in addressing specific skin concerns and enhancing the effectiveness of your DIY face serum. Incorporating the right essential oils can help reduce wrinkles, fine lines, and age spots, boost skin elasticity and hydration, and promote overall healthier skin.
Always ensure essential oils are diluted with a carrier oil prior to skin application, as they are highly concentrated and can cause irritation if used undiluted.
Essential Oils for Acne-Prone Skin
If you have acne-prone skin, essential oils like tea tree, frankincense, and lavender can work wonders. Tea tree oil is a natural antiseptic and anti-inflammatory, making it an excellent option for treating acne.
Frankincense oil acts as a natural astringent, helping to reduce inflammation and redness associated with acne. Lavender oil possesses natural antiseptic and anti-inflammatory properties that can minimize the appearance of acne.
Remember to always dilute essential oils in a carrier oil before applying to your skin, and only use a few drops to avoid irritation.
Essential Oils for Aging Skin
For those looking to address the signs of aging, essential oils like:
frankincense
myrrh
lavender
geranium essential oil
rose
Using these oils in anti-aging serum provide nourishment and support a more youthful appearance by reducing the appearance of wrinkles, fine lines, and age spots while boosting skin elasticity and hydration.
Including sweet almond oil and other essential oils in your anti-aging serum can help you achieve a smoother, more radiant complexion. An anti-aging serum does not have to be complicated. Just add a few drops into facial serums to get a more youthful appearance.
Essential Oils for Sensitive Skin
Sensitive skin can benefit from the soothing and hydrating qualities of essential oils like chamomile, lavender, and rose. These oils are gentle enough for sensitive skin and can help calm irritation and redness.
However, it’s crucial to consult with a dermatologist before using any essential oils on your skin, especially if you have a skin condition like eczema.
Step-by-Step Homemade Face Serum Recipes
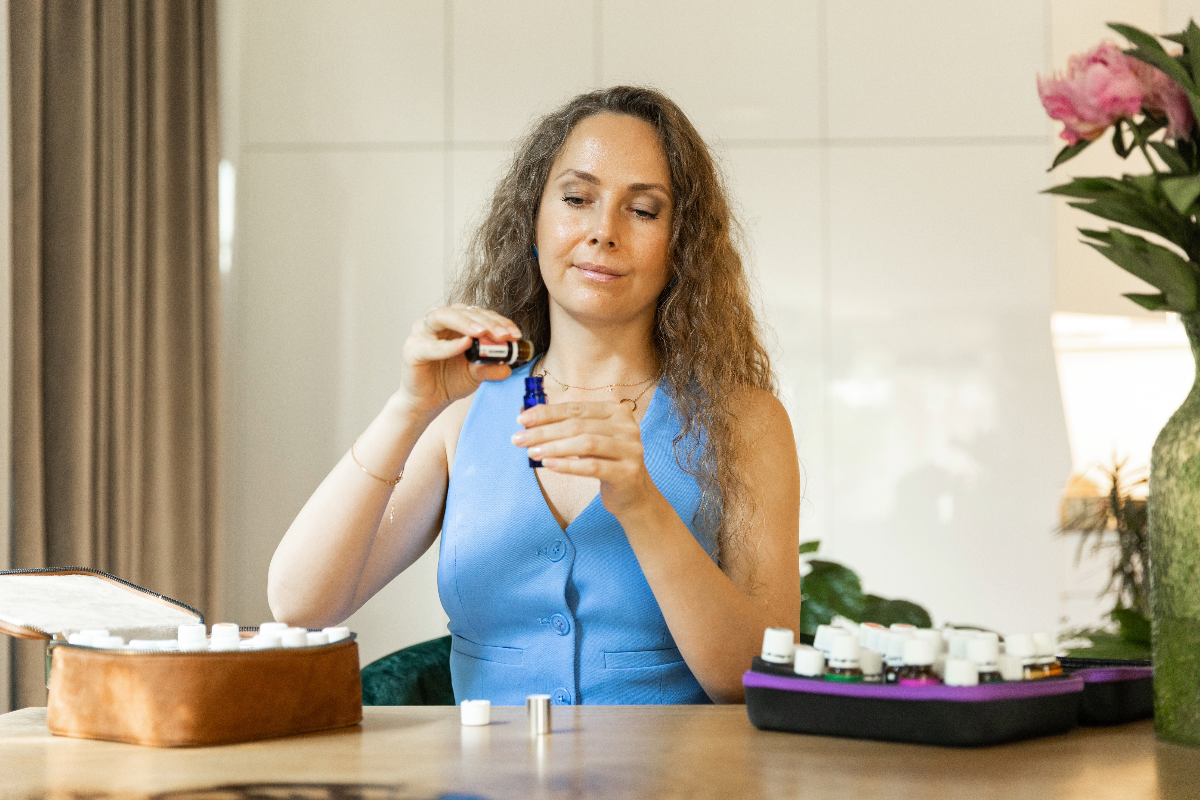
Now that you’re familiar with the essential and carrier oils suitable for your skin type, you’re ready to formulate your personalized homemade face serums. Here’s the facial serum basic recipe:
- Add essential oils to an empty dropper bottle.
- Optionally, include some Vitamin E Oil and Rosehip Oil.
- Fill the bottle with a carrier oil.
- Give it a gentle shake to mix all the ingredients.
With these simple steps, you’ll have your own personalized face serum recipe that caters to your skin’s unique needs.
Recipe for Normal Skin
For normal skin, mix together the following ingredients in a facial serum bottle:
1 teaspoon hyaluronic acid
1 teaspoon glycerin
1 teaspoon betaine
1 teaspoon panthenol
1 teaspoon niacinamide
1 teaspoon vitamin C
1 teaspoon retinol
1 teaspoon green tea
1 teaspoon vitamin E
1 teaspoon aloe vera
1 teaspoon rose and rose hips extract
Apply the serum to your face and neck after cleansing and toning, and store it in a cool, dark place. Use it up within six months for maximum effectiveness.
Recipe for Dry Skin
For dry skin, you can create a DIY serum by combining the following ingredients in a serum bottle:
Glycerin
Hyaluronic acid
Vitamin C
Squalane
Colloidal oatmeal
Gently pick up the bottle and start shaking your facial serum ingredients together.
Apply the serum to your face and neck after cleansing and toning, and store it in a cool, dark place. Use the serum within two weeks for the best results.
Recipe for Oily Skin
To create a face serum for oily skin, follow these steps:
- Add a carrier oil like jojoba oil to a small glass bottle.
- Add essential oils like tea tree oil and lavender oil to the bottle.
- Close the lid tightly.
- Roll the bottle between your hands for half a minute to mix the oils.
Apply the serum to your face after cleansing and toning, and store your facial serum in a cool, dark place.
Recipe for Sensitive Skin
For sensitive skin, combine the following ingredients in a small glass bottle:
Hyaluronic acid
Glycerin
Betaine
Panthenol
Calendula
Arnica
Chamomile
Cornflower
Close the lid tightly and roll the bottle between your hands for half a minute to mix the ingredients.
Apply the serum to your face and neck after cleansing and toning, and store it in a cool, dark place.
Recipe for Combination Skin
For combination skin, choose a carrier oil like jojoba oil and essential oils like lavender and geranium. Add the oils to a small glass bottle and close the lid tightly. Gently roll the bottle between your hands for half a minute to mix the oils.
Apply the serum to your face and neck after cleansing and toning, and store it in a cool, dark place.
How to Use and Store Your DIY Face Serum
To reap the full benefits of your DIY face serum, ensure proper application and storage. After cleansing your face, put a drop of serum on your forehead, cheeks, and chin. Gently massage the serum into your skin with small, soft, upward strokes, avoiding the eye area.
Wait for the serum to sink in before applying any additional products, such as moisturizer or sunscreen.
Application Technique
To achieve optimal results, follow these steps:
- Begin with clean, dry skin.
- Use a small quantity of serum.
- Gently massage the serum into your face and neck using upward and outward strokes.
- Focus on problem areas, but avoid the eye area.
Allow the serum to absorb into your skin before applying any other products, such as moisturizer or sunscreen.
Storage Tips
Maintaining the quality and effectiveness of your DIY serum necessitates appropriate storage. Keep the serum in a cool, dark place, away from direct sunlight or high temperatures, to prevent the serum from breaking down and becoming less effective.
For added protection, you can store your serum in a UV-blocking container or even in the refrigerator, which will help maintain its freshness for a longer period.
Additional Ingredients to Boost Your Face Serum
For an extra boost to your DIY face serum, consider incorporating additional ingredients such as antioxidants, vitamins, and hyaluronic acid. These optional additions can provide added nourishment and protection for your skin, helping to reduce wrinkles and fine lines, protect against environmental damage, and promote overall healthier skin.
With a little experimentation and creativity, you can create the perfect face serum tailored to your skin’s unique needs and concerns.
Final Thoughts
Creating your own homemade serums allows you to take control of your skincare routine and provide your skin with the tailored care it deserves. By understanding your skin type, selecting the right carrier and essential oils, and following simple recipes and storage tips, you can achieve healthier, more radiant skin without breaking the bank.
Enjoy the world of DIY skincare and reap the benefits of personalized face serums for your unique skin type. With a little time, effort, and creativity, you can create a customized skincare routine that leaves your skin looking and feeling its absolute best. Your complexion will thank you, and you’ll wonder why you didn’t start making your own face serum sooner!
Frequently Asked Questions
What is the best oil for homemade face serum?
For homemade face serum, the best oil is a carrier oil like jojoba, sweet almond, avocado, or grapeseed oil. These provide the perfect balance of skin nourishment and hydration.
How do you make homemade serum for aging skin?
Making a homemade anti-aging serum is easy!
Just mix the ingredients in a small glass beaker, stir until combined, and store in a glass dropper bottle.
What can be used in place of face serum?
DIY face serum can be made with jojoba oil, rosehip seed oil, and essential oils such as rose, frankincense, jojoba, myrrh, grapeseed, and lemon.
Simply mix the ingredients together and apply it daily for anti-aging effects.
How can I make my own face serum?
Gather your ingredients – Rosehip oil, Jojoba oil, and essential oils of your choice – then mix them together in an Amber Glass Dropper Bottle.
You’ve got your own face serum!
How do I determine my skin type?
To determine your skin type, look for signs of oiliness, texture, and sensitivity.
Dry skin is usually tight and flaky, oily skin is shiny, sensitive skin easily irritates, and combination skin is a mix of all three.
This was a great read. I learned so much! Thank you for sharing your knowledge with us!!
Wow! A great post and these recipes are amazing, I will have to try some. Thank you for sharing.
This is such a great resource. I learned a ton. Thanks for sharing! 😊
I didn’t know I could make face serum at home. What a great money saver! Thanks!
Very interesting, love the idea of the normal skin recipe. I will try these easy DIY ideas. Thank you for sharing!
This is such an amazing post! I will have to try out these recipes. Thanks for sharing!