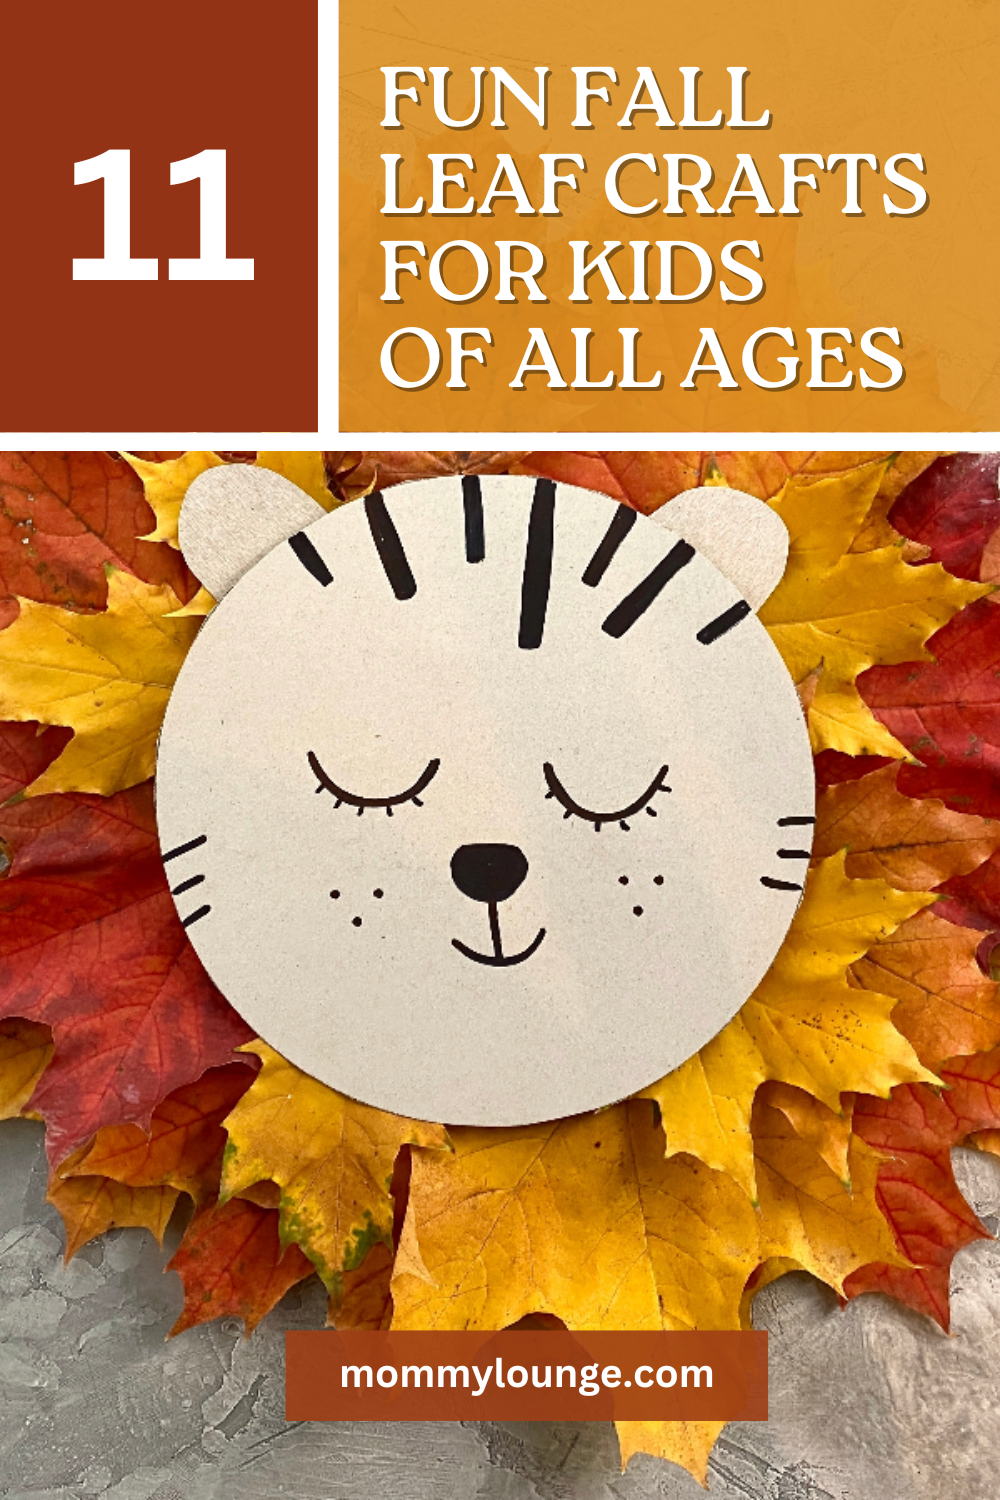
Autumn is a season bursting with colors, especially when the leaves start changing. It’s a time when nature offers us a bounty of inspiration. This season is a wonderful opportunity for children to learn, play, and create free crafts with the vibrant leaves that fall from the trees. Here are variety of crafty activities to do with younger and older children using fall leaves that not only are entertaining but also educational.
Leaf Rubbing
Age Range: 3-7 years
Note: Younger children might need assistance with holding the crayon properly and applying even pressure.
Leaf rubbing is fun and easy, particularly for the younger children. Help your children find a variety of leaves from your yard or during a nature walk. Lay them flat underneath a blank sheet of light-colored construction paper (underside of leaf facing up). Assist your children, if necessary, in removing the paper around a handful of crayons. Next, have your children use the sides of the crayons to make a rubbing of the leaves, using long strokes across the paper. This is a great way to help children discover the designs of the veins and different shapes of fall leaves and make artwork to hang on the refrigerator for others to admire.
Materials:
- A variety of leaves from the yard or park
- Light-colored construction paper
- Crayons with paper removed
Steps:
- Place your chosen leaf underneath the construction paper, vein side up.
- Use the side of a crayon to gently rub over the area where the leaf is.
- Watch as the design of the leaf appears on the paper.
- Try with different leaves and crayon colors for variety.
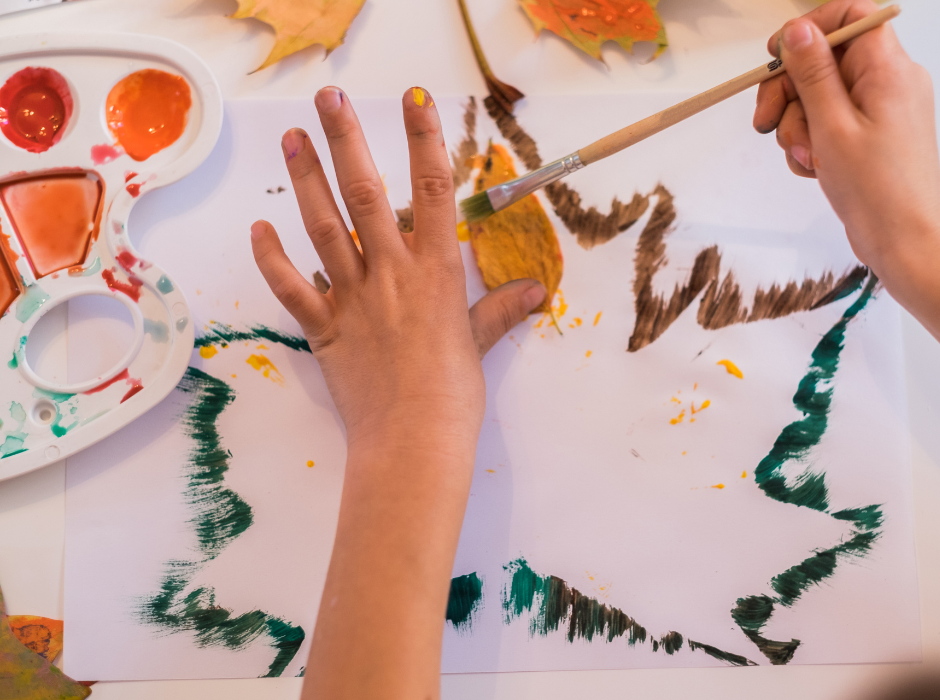
Leaf Art (painted prints)
Age Range: 5-10 years
Note: Handling paint might be a little messy for very young children.
Leaf prints are fun to create using paint. Have your children collect different kinds of fresh leaves. A variety of shapes work best. Using a brush, have your children carefully paint the underside of the leaves, where the veins of the leaves are the most noticeable. Do this, by using a small amount of acrylic or poster paint. Place the leaves on the paper where your children want the leaf designs. Cover the leaves with a clean, dry paper towel and then very gently use a rolling pin to roll over top. Next, remove the paper towel and carefully lift the leaves. Your children can make art to hang on the wall, cards or even gift-wrap. Leaf prints can also be done outdoors, to observe the vein designs of leaves. To create water leaf prints, have your children paint leaves they’ve collected with water, using paintbrushes. Press the leaves onto cement to see the intricate vein patterns.
Materials:
- Fresh leaves with varied shapes
- Acrylic or poster paint
- Brushes
- Paper
Steps:
- Paint the underside of your leaf, where the veins are prominent.
- Place the leaf, paint side down, onto your paper.
- Cover the leaf with a clean paper towel and gently roll with a rolling pin.
- Carefully lift the leaf and see the beautiful print it leaves behind!
 Leaf Mobile

Age Range: 6-12 years
Note: Some dexterity is needed for tying and hanging.
Bring the beauty of fall leaves into your home with a delightful leaf mobile. For this craft, you’ll need some twine, a stick or a hanger, and some colorful fall leaves. Begin by helping your children select some beautifully shaped and colored leaves. Next, tie a piece of twine to each leaf’s stem. Then, tie the other end of the twine to the stick or hanger, adjusting the lengths to create a cascading effect. Hang the mobile where it can catch a gentle breeze and watch as the leaves gracefully twirl around, adding a touch of autumn magic to any room.
Materials:
- Dried fall leaves
- Twine or string
- A stick or hanger
Steps:
- Tie a piece of twine to the stem of each leaf.
- Tie the other end to the stick or hanger, varying the lengths to make it visually appealing.
- Hang it up and watch the leaves gently spin and twirl.
Pressed Leaves
Age Range: 4-10 years
Note: Younger children will need assistance with the ironing method.
Another fun fall leaf project to do with your children is to press leaves. Use fresh leaves (and ferns if you’d like) and put them between wax paper sheets, leaving plenty of space to trim and preserve the “seal’. Iron the wax paper to create a seal between the wax paper and the leaves. It may work better if you put a thin towel over the wax paper before ironing. Trim the wax paper and you’ve got pressed leaves. It’s that simple! Another option is to put the leaves inside a book and weigh it down with something heavy such as a rock. You want to leave them for at least 2-3 weeks until dry. Now, the leaves that you and your children collected will stay colorful well into winter and spring!
Materials:
- Fresh leaves and ferns
- Wax paper
- Iron (to be used by an adult)
- Books or something heavy (alternative method)
Steps:
- Lay your chosen leaf between two sheets of wax paper.
- With adult help, iron the wax paper to seal the leaf inside. Alternatively, place leaves inside a book and weigh it down.
- Leave them for 2-3 weeks until they are dry.
- Once pressed and dried, they can be used in various crafts or displayed as is.
Leaf Lanterns
Age Range: 7-12 years
Note: Younger kids might need assistance with ensuring the leaves are properly glued down, and always ensure an adult handles real candles.
Making lanterns from autumn leaves can create a magical atmosphere in your home. To make a leaf lantern, collect a few colorful leaves during your next nature walk. Find a clean glass jar, apply some Mod Podge or glue to the outside, and stick the leaves onto it. Once dried, wrap a string of battery-operated fairy lights or place a battery-operated candle inside. As the lights shine through, the colors and shapes of the leaves will stand out beautifully.
Materials:
- Colorful, dried fall leaves
- Clear mason jars or any glass jars
- Mod Podge or watered-down white glue
- Brushes
- Tea lights or battery-operated candles
Steps:
- Ensure your mason jar is clean and dry.
- Apply a thin layer of Mod Podge or glue on a section of the jar using the brush.
- Place a dried leaf onto the glued section.
- Brush another layer of Mod Podge or glue over the leaf, making sure its edges stick down well.
- Continue the process until the jar is covered to your liking.
- Allow the jar to dry completely. This might take a few hours.
- Once dry, place a tea light or battery-operated candle inside the jar.
- Light it up and enjoy the warm glow shining through the colorful leaves.
Leaf Mosaics
Age Range: 4-9 years
Turn fall leaves into beautiful mosaic art. Start with a piece of cardboard or thick paper as the base. Let the kids tear up colorful leaves into small pieces and then glue them down in patterns or pictures. It’s like creating a jigsaw puzzle, but with leaf pieces. The results can be a stunning representation of fall colors.
Materials:
- Various colorful leaves
- Cardboard or thick paper
- Glue
Steps:
- Tear the leaves into small pieces.
- Apply glue to the cardboard or paper where you want to place the leaf pieces.
- Arrange the leaf pieces on the glued surface to form patterns or pictures.
- Let it dry thoroughly before displaying.
Leaf Clay Bowls
Age Range: 7-12 years
Note: Molding and shaping the clay might be challenging for younger kids.
This craft is not only fun but also functional. Start with air-dry clay, and roll it out until it’s about a quarter-inch thick. Press a large leaf onto the clay, with the veiny side down. This will imprint the leaf’s pattern onto the clay. Trim around the leaf, and then place the clay inside a bowl to give it a rounded shape. Once dried, you’ll have a beautiful, nature-inspired bowl.
Materials:
- Air-dry clay
- A large leaf with a pronounced vein structure
- Rolling pin
- A bowl for shaping
Steps:
- Roll out the clay until it’s about a quarter-inch thick.
- Press your leaf onto the clay with the vein side down.
- Trim around the imprinted leaf shape.
- Place the clay inside a bowl so it takes on a rounded shape.
- Allow it to dry completely before use.
Leaf Silhouettes
Age Range: 4-8 years
A fun way to showcase the beauty of leaf shapes. Begin by taping your chosen leaf to a piece of paper. Provide children with paint and sponges or brushes. Have them dab or brush paint around the edges of the leaf. Once they’re done, remove the leaf to reveal a beautiful silhouette. This craft works especially well with leaves that have distinctive shapes.
Materials:
- Leaves with distinct shapes
- Paint and brushes or sponges
- Paper
Steps:
- Tape your chosen leaf onto the paper.
- Using a sponge or brush, dab or brush paint around the edges of the leaf.
- Once you’re done, remove the leaf to reveal its silhouette.
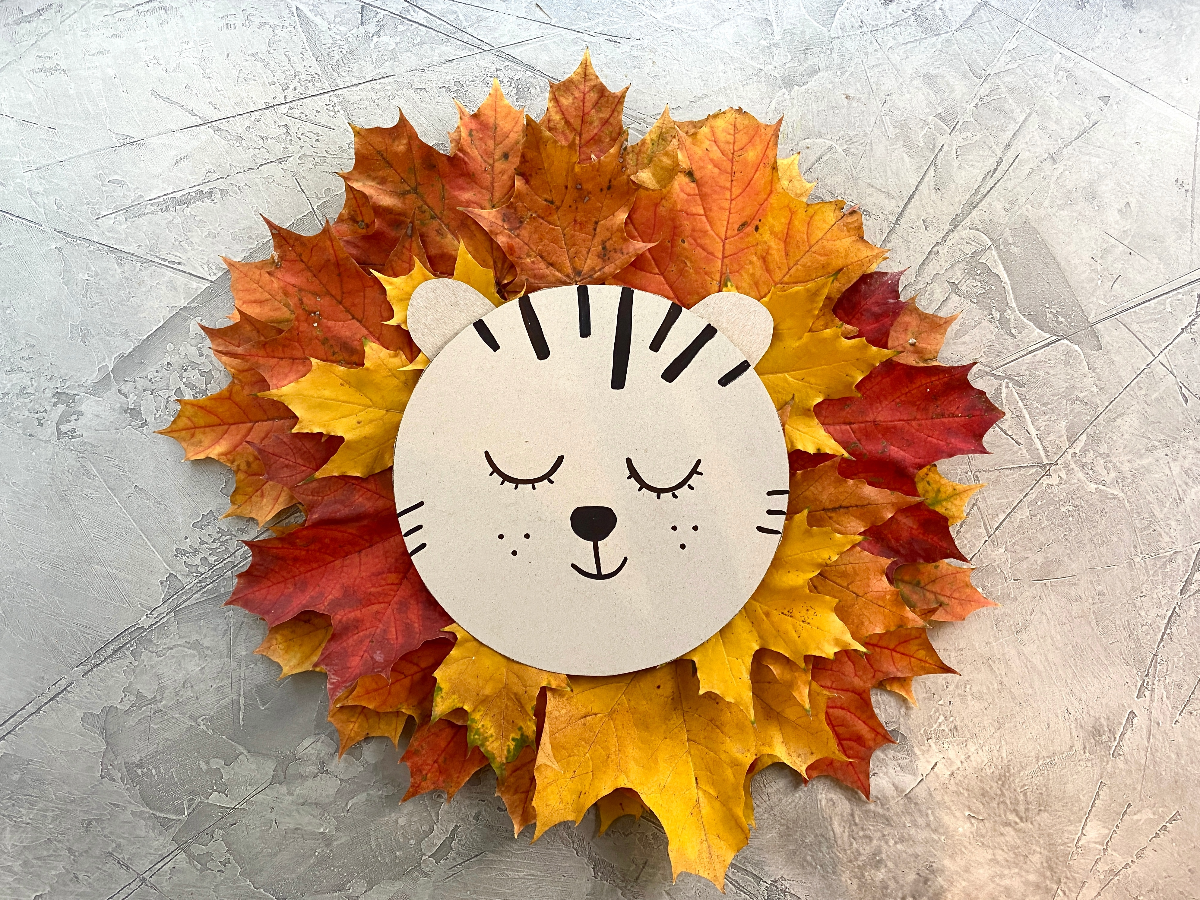
Leaf Creatures
Age Range: 3-8 years
Spark children’s imaginations by transforming leaves into whimsical creatures. Using leaves of various sizes and shapes, kids can glue them onto paper to resemble animals, birds, or fantasy creatures. Add details with markers, googly eyes, or small twigs. For example, an oak leaf might become a body of a squirrel with acorn eyes, while a maple leaf could transform into a fluttering butterfly.
Materials:
- Various leaves
- Glue
- Markers, googly eyes, twigs (for detailing)
Steps:
- Arrange leaves on paper to form animal shapes or fantasy creatures.
- Glue them in place.
- Add eyes, antennas, legs, or other details using markers, googly eyes, or twigs.
Leaf Bookmarks
Age Range: 6-12 years
A practical craft that’s perfect for bookworms. Start with some elongated leaves, such as willow or elm. Press and dry them for a few days between the pages of a heavy book. Once dried, laminate the leaves or cover both sides with clear packing tape, leaving a small edge around the leaf. Trim any excess tape, punch a hole at one end, and tie a ribbon or yarn through it. Now, you have a beautiful, nature-inspired bookmark!
Materials:
- Long leaves like willow or elm
- Clear packing tape or laminator
- Ribbon or yarn
Steps:
- Press and dry your chosen leaf for a few days between heavy books.
- Once dried, laminate the leaf or cover it with clear packing tape on both sides.
- Trim any excess material, leaving a small edge around the leaf.
- Punch a hole at one end and tie a ribbon or yarn through it.
Leaf Collage Canvas
Age Range: 5-10 years
Turn the brilliant colors of fall into a lasting piece of art. Begin by giving children a blank canvas (a stretched one or even a canvas board will work). Using a mixture of watered-down white glue or Mod Podge, have kids brush a thin layer onto the canvas. Next, encourage them to arrange a collection of dried fall leaves in any pattern or design they like on the canvas. Once they’re happy with their design, brush another layer of the glue mixture on top of the leaves, sealing them in place. Allow the canvas to dry completely. This craft not only captures the beauty of the season but can also be a cherished decoration for years to come.
Materials:
- Canvas (stretched or board)
- Dried fall leaves
- Mod Podge or watered-down white glue
- Brushes
Steps:
- Brush a thin layer of Mod Podge or glue onto the canvas.
- Arrange your dried leaves on the canvas.
- Once satisfied, brush another layer of Mod Podge or glue over the leaves to seal them in place.
- Allow it to dry completely before hanging or displaying.
Autumn provides a rich canvas of colors and shapes for kids to explore and craft with. The fun doesn’t stop at just viewing the beauty; it extends to creating memorable projects with it. Each leaf, with its unique shape and color, tells a story of nature’s wonder. By engaging in these crafts, children not only enjoy the artistic process but also cultivate an appreciation for the beauty that nature offers each season. So next time the leaves start to fall, remember there’s a world of creativity waiting to be uncovered right in your backyard.
I loved doing leaf art when I was young, it was always so much fun. I’ve never tried leaf pressing though, I might have to try it with my nieces!